Automation Testing
Games, websites and APIs using Unreal Engine Automation Framework, RestSharp, Selenium and Postman.
Project Type: Training
Software: Unreal Engine, RestSharp, Selenium and Postman
Programming Languages: C++, C#, JavaScript, Blueprints
Group/Solo: Solo
Description
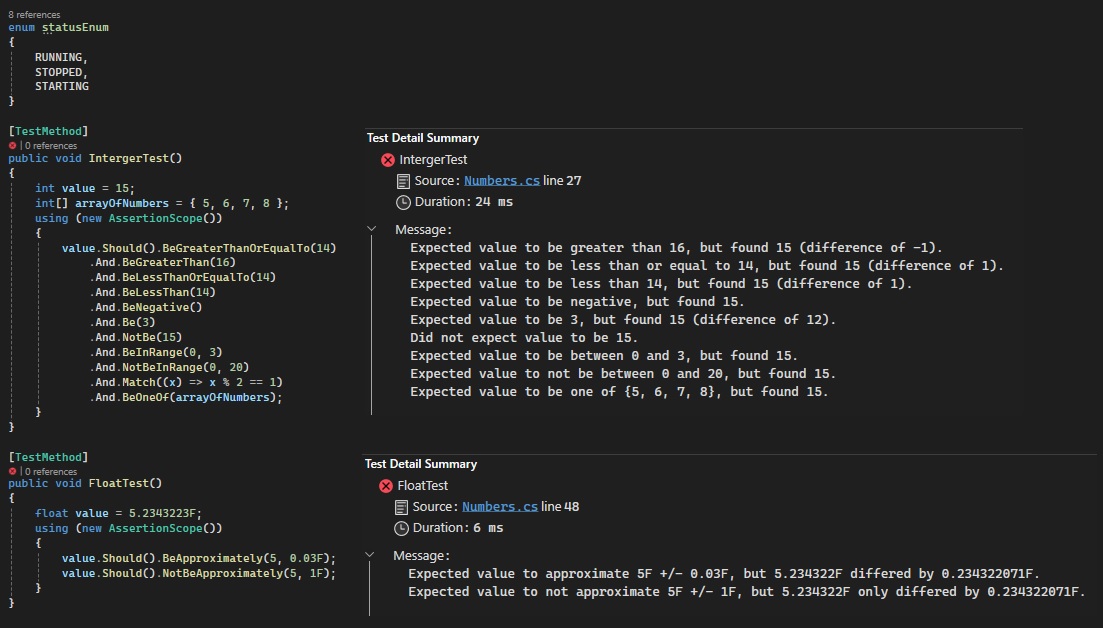
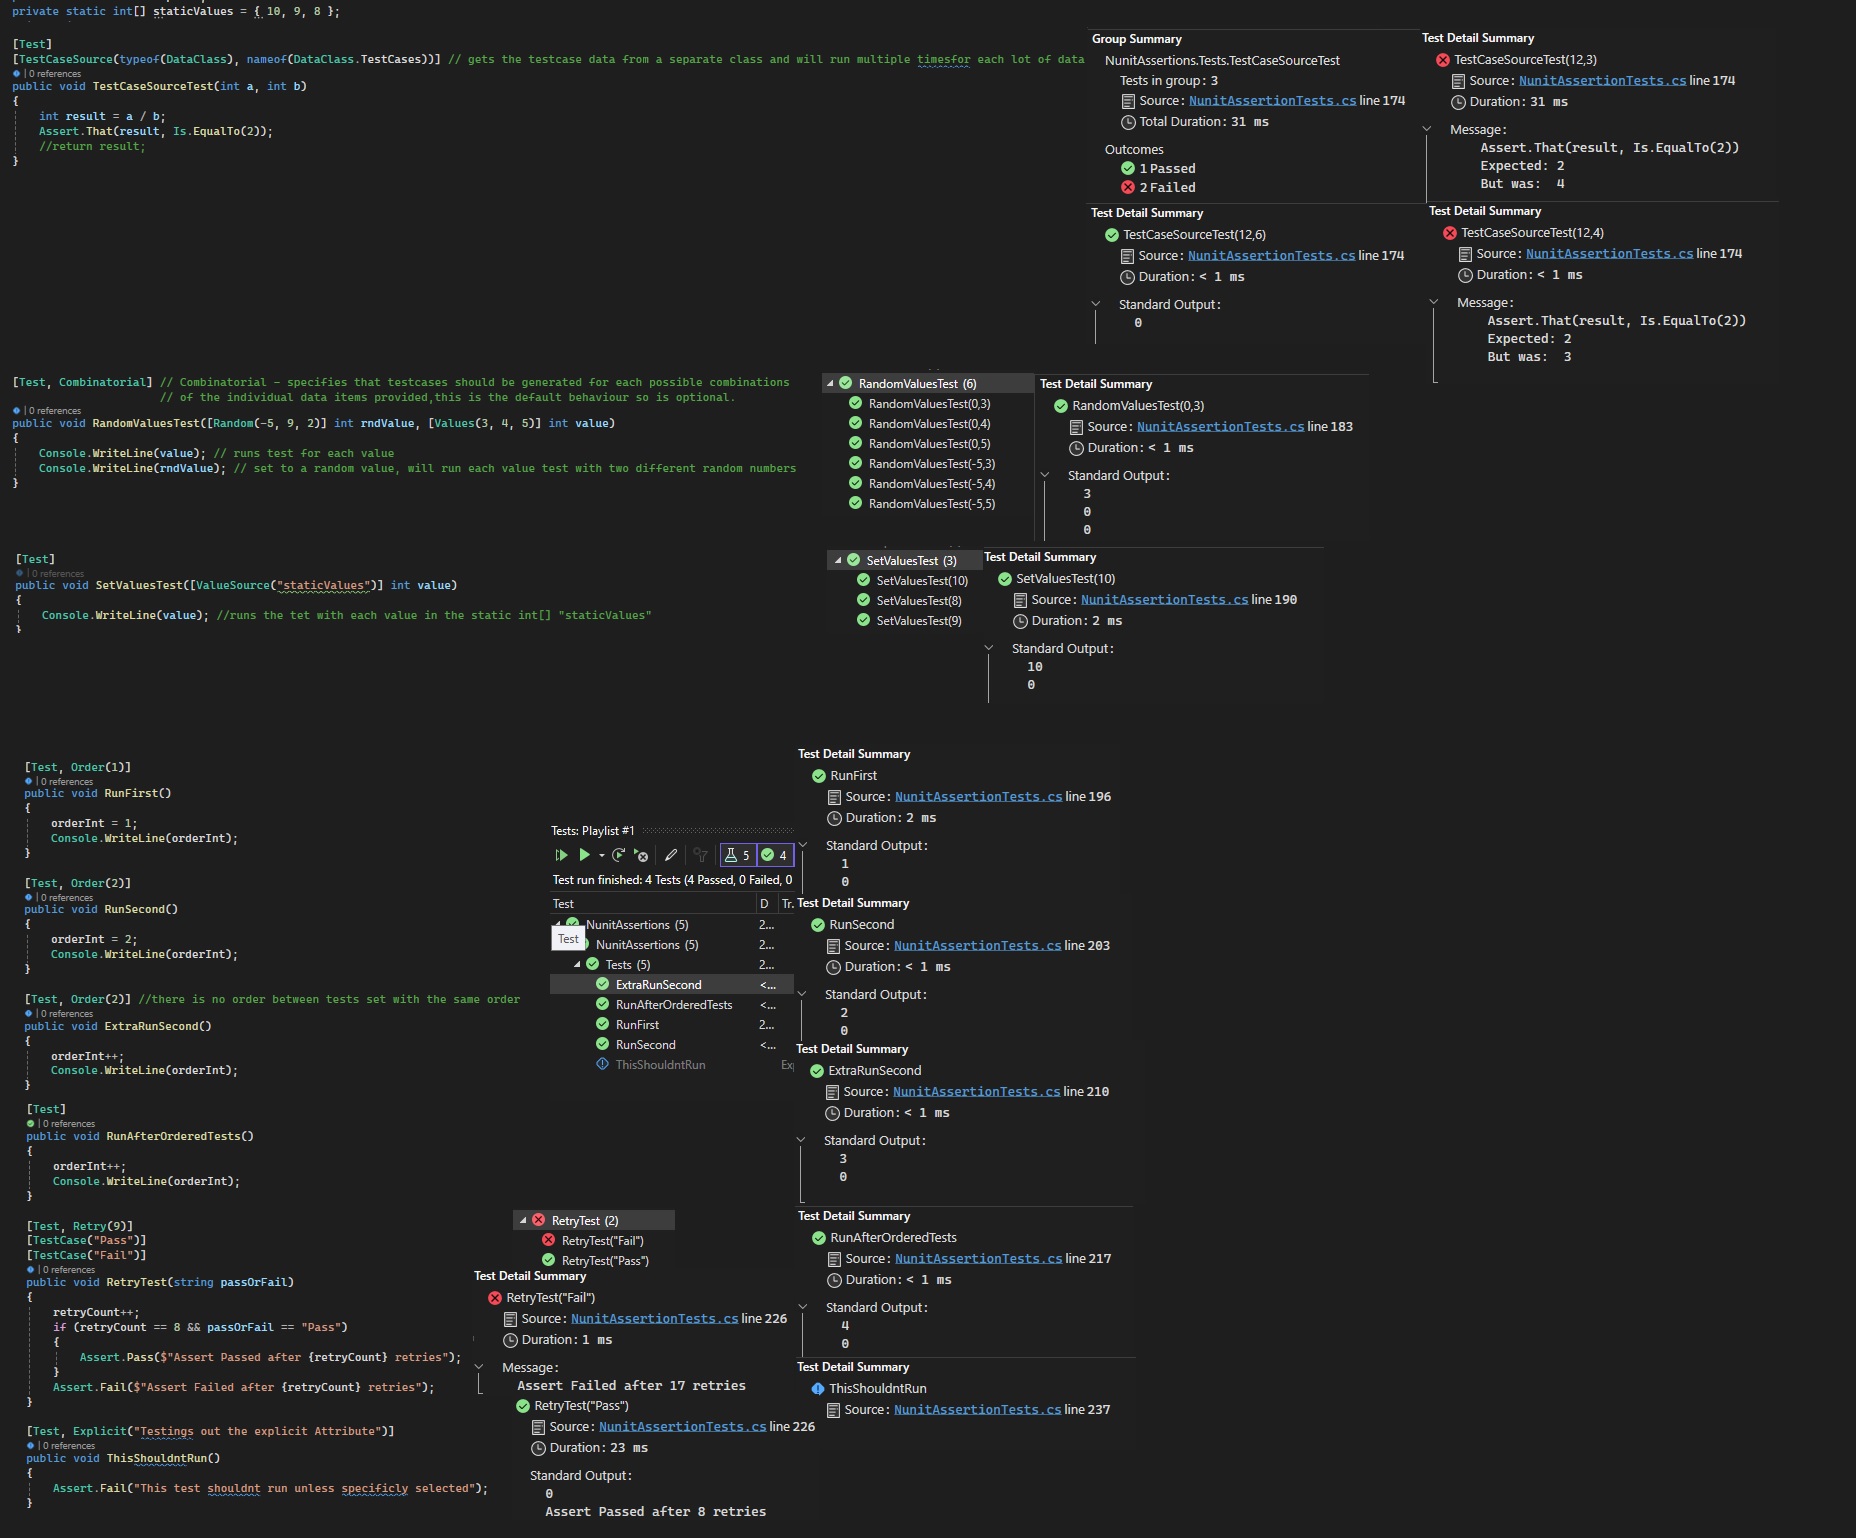
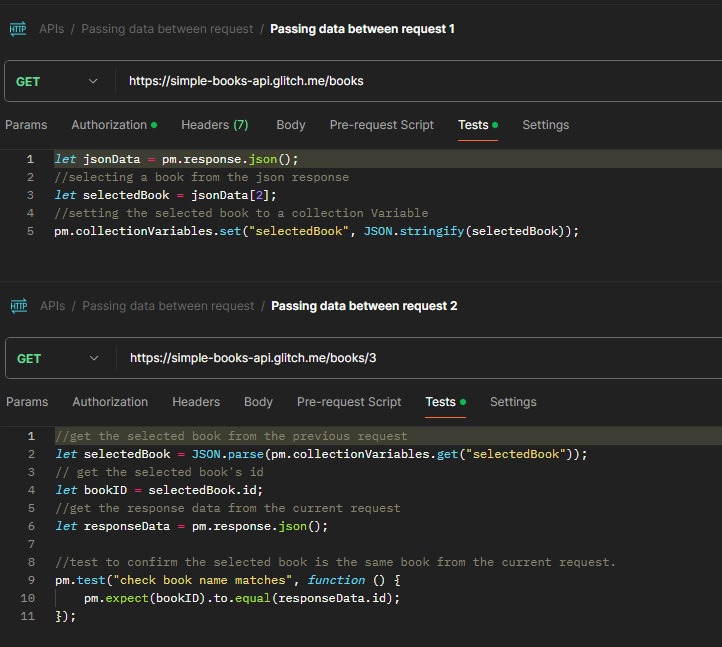
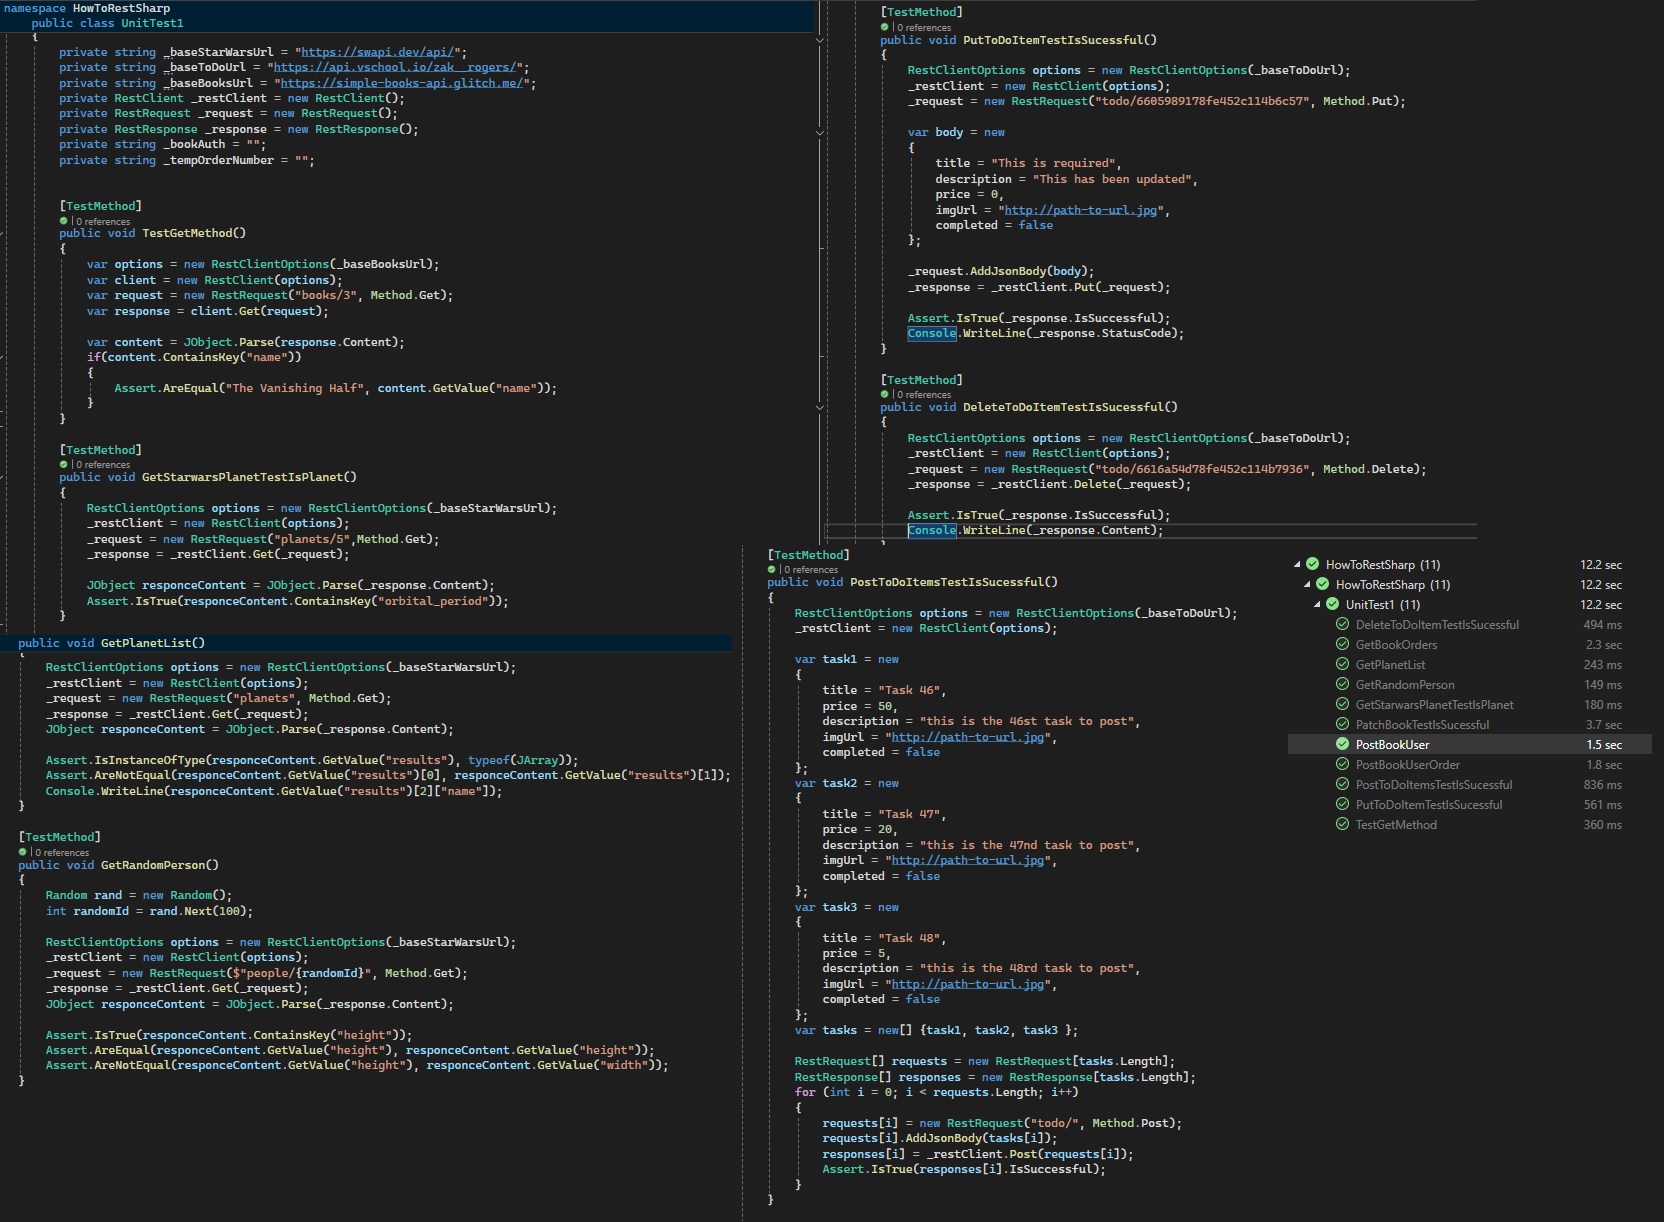
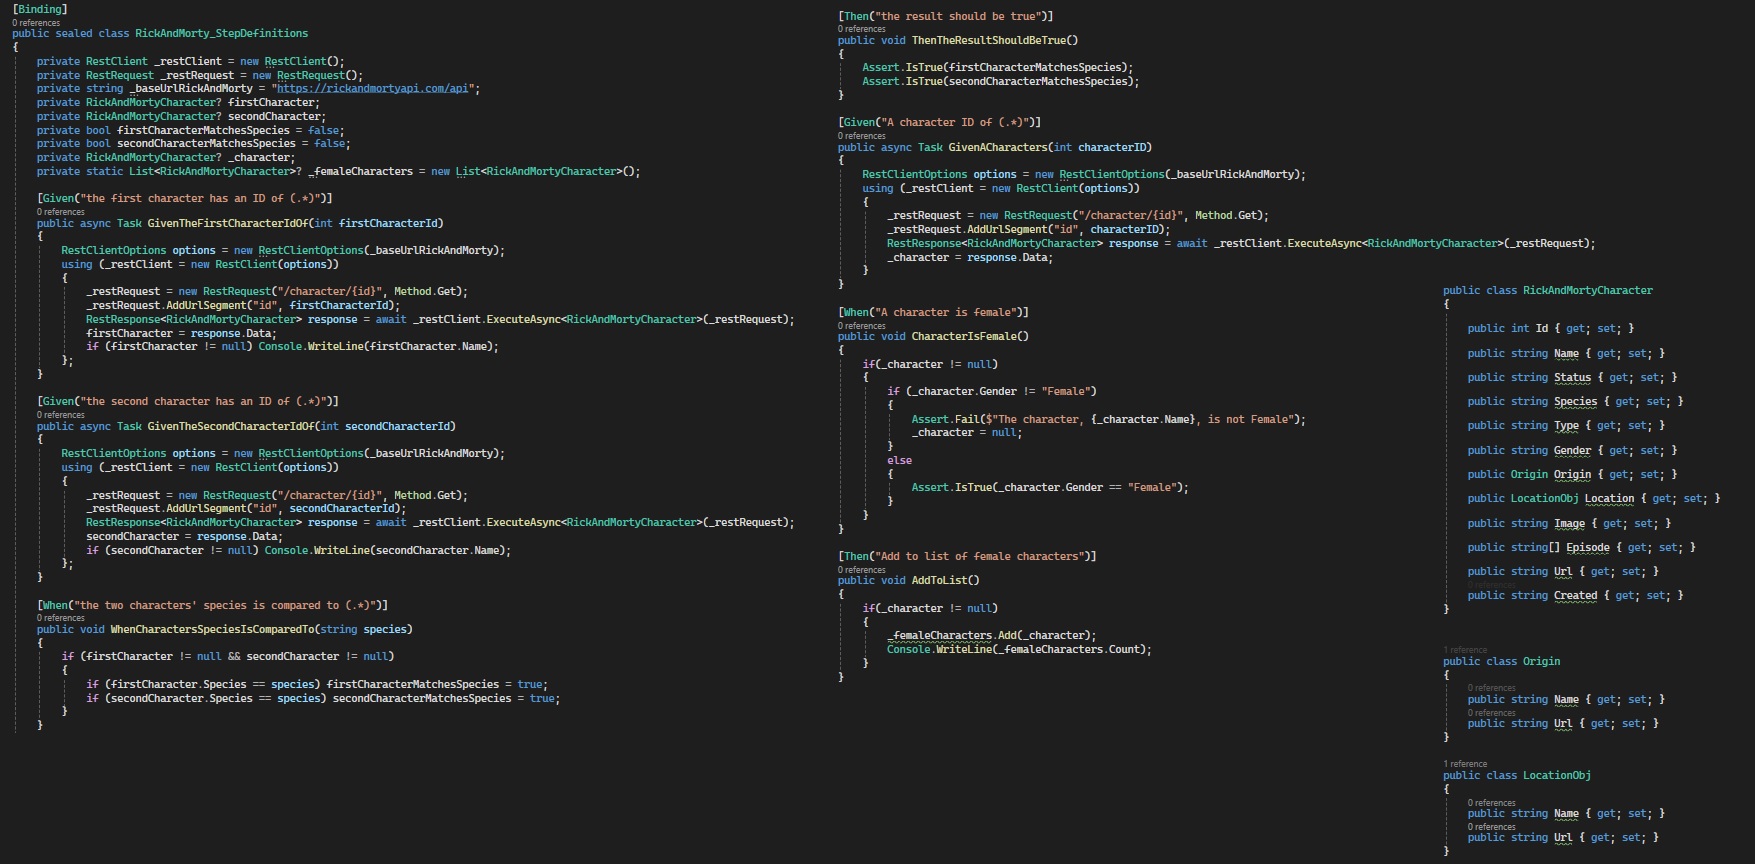
I have recently been learning to write automation tests. I started by learning to use Postman to perform automation tests for APIs on free test APIs using different HTML request methods. I then learned to use RestSharp to write synchronous and asynchronous requests using various types of data such as JSON and XML.
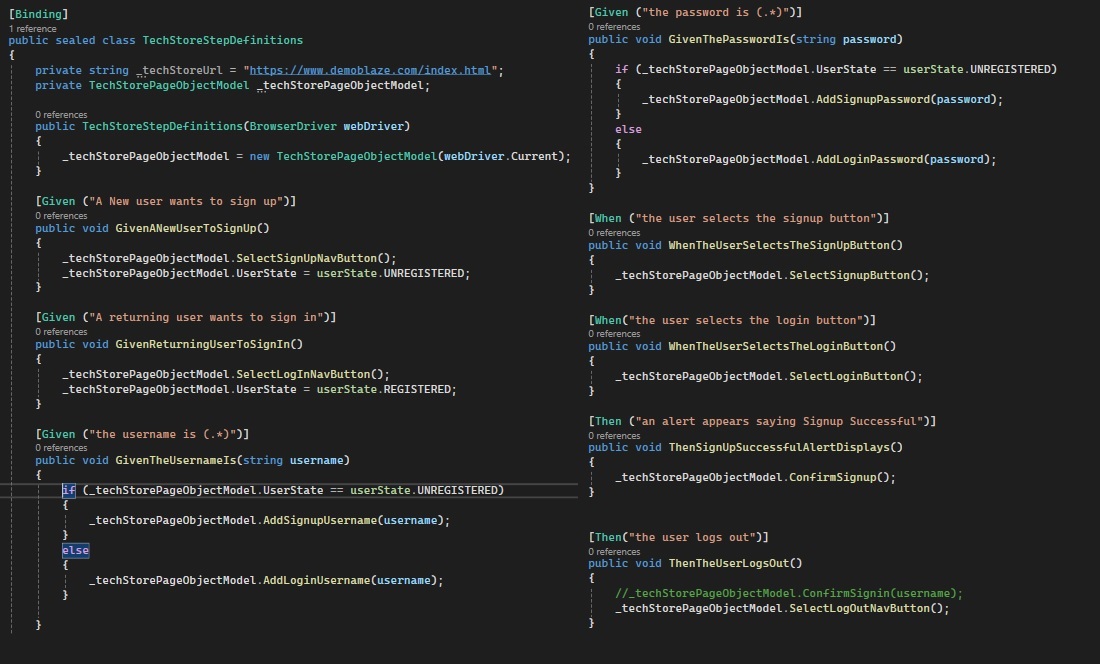
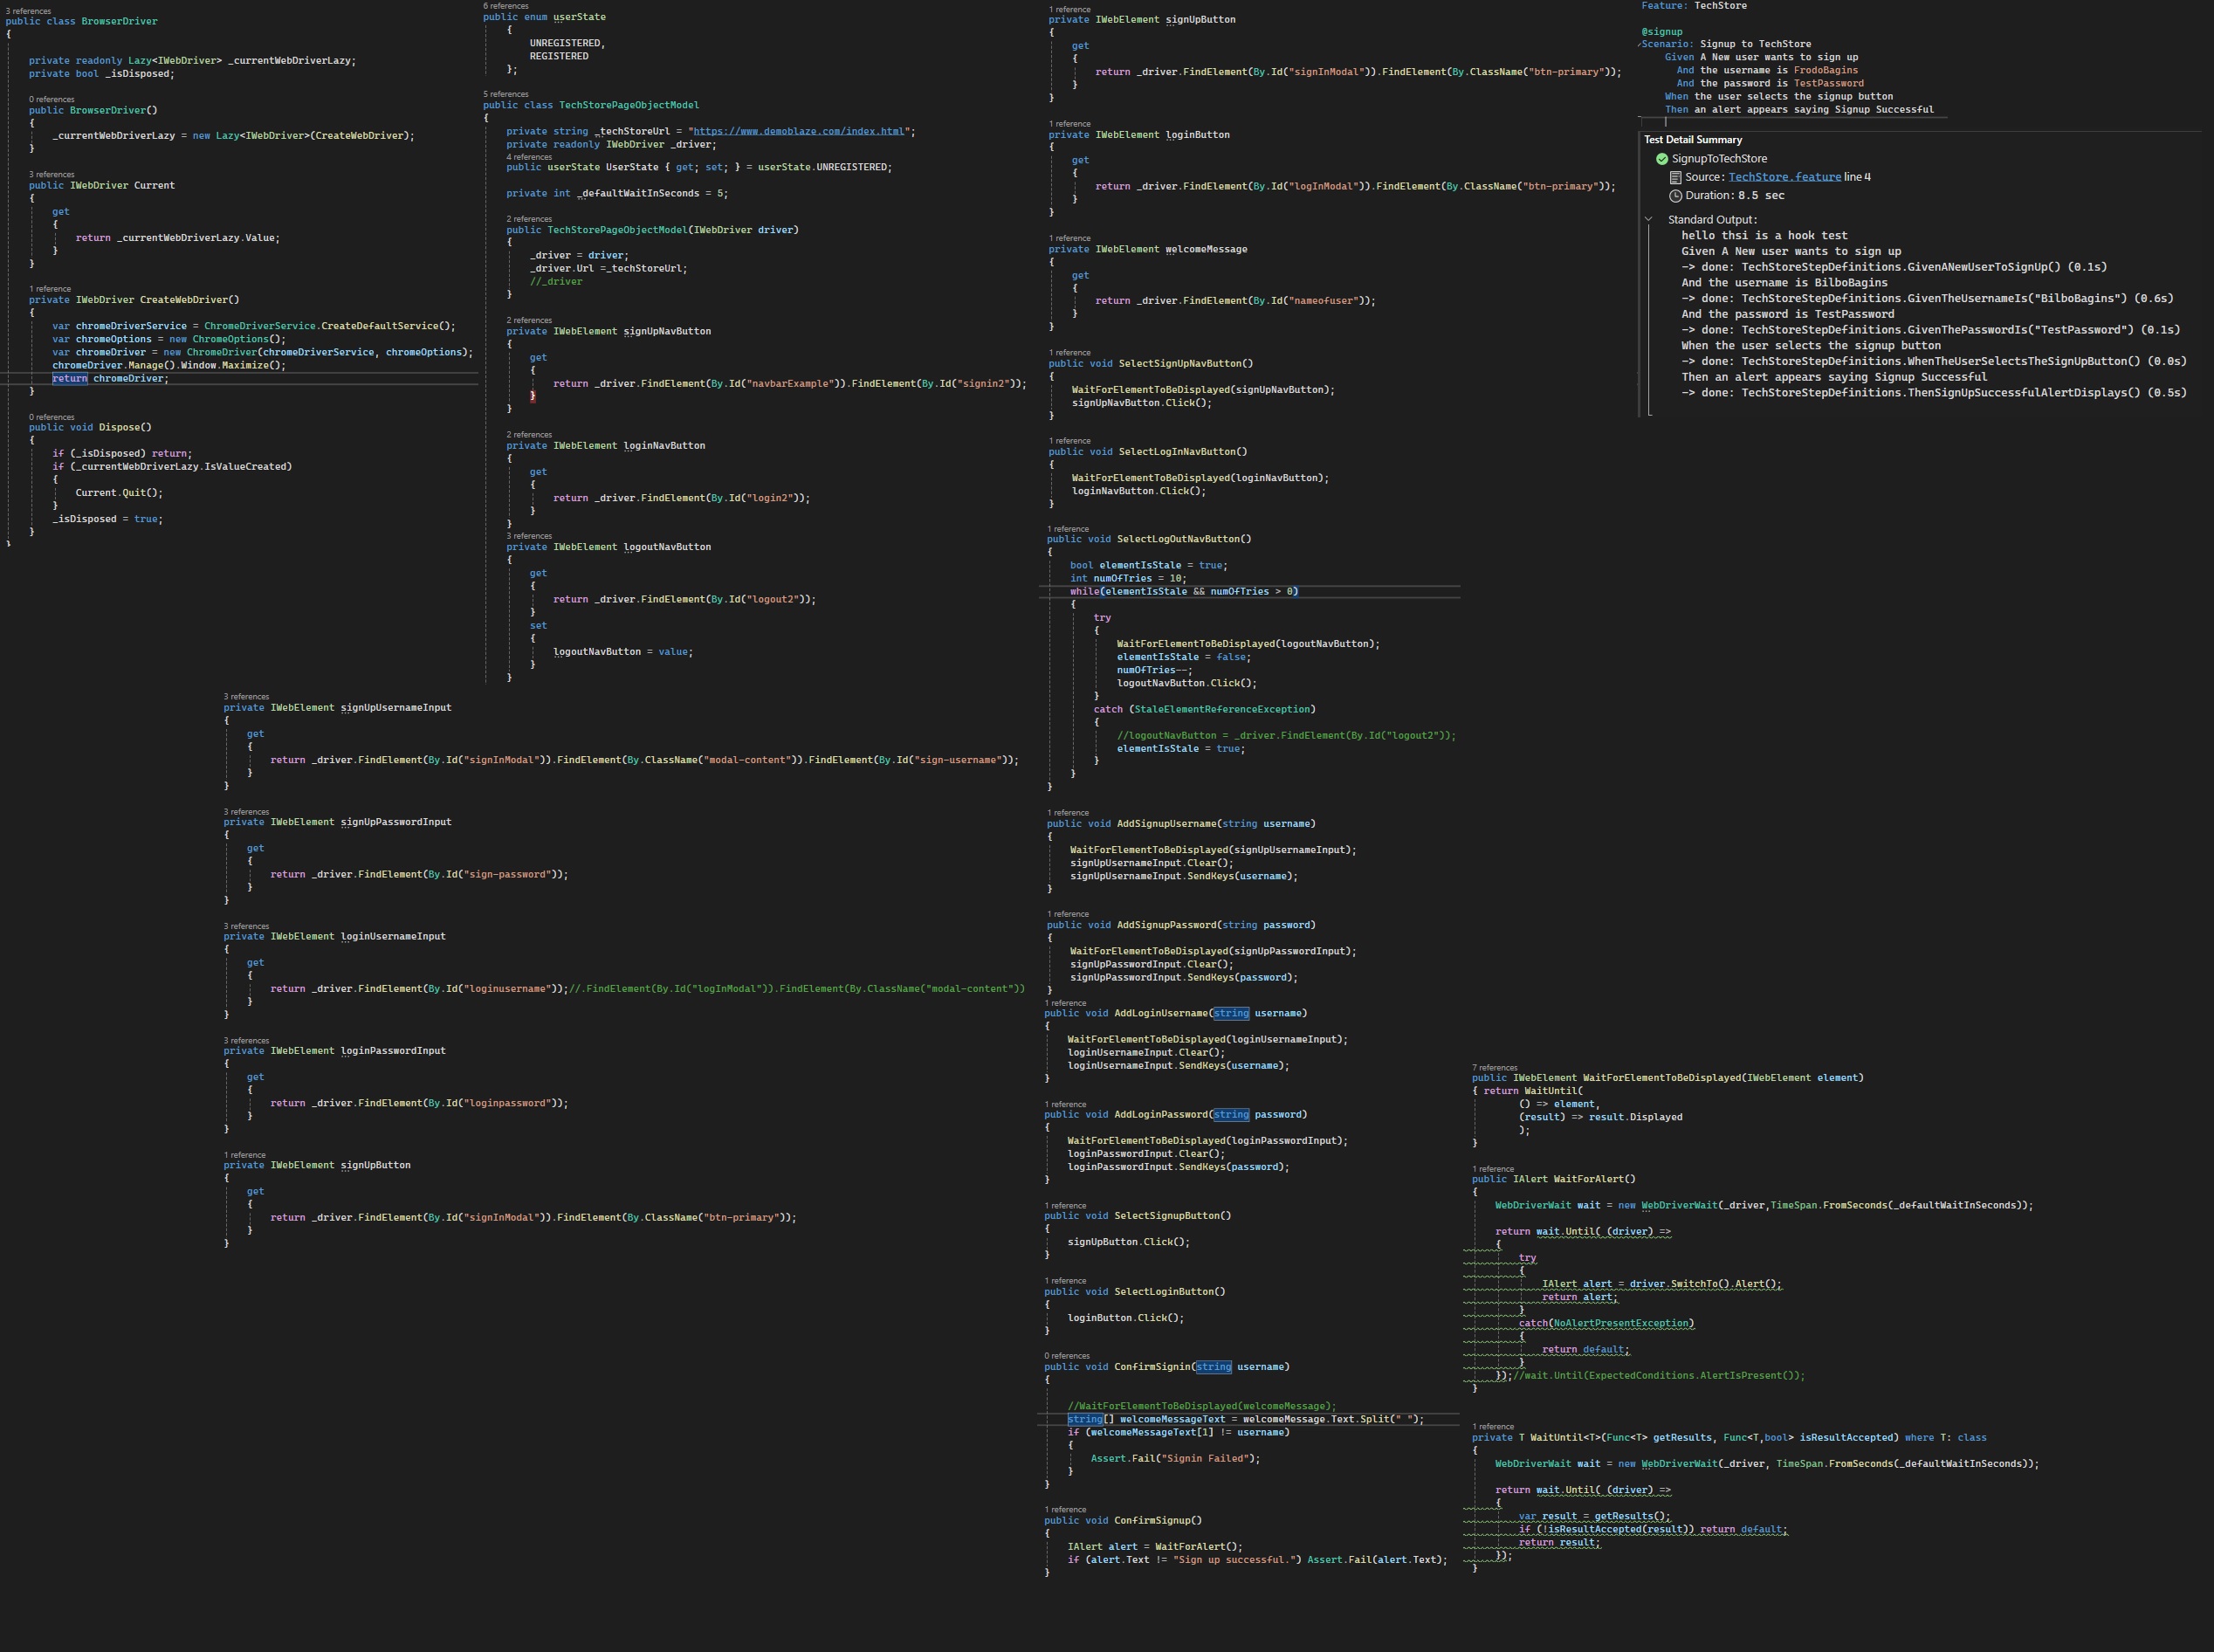
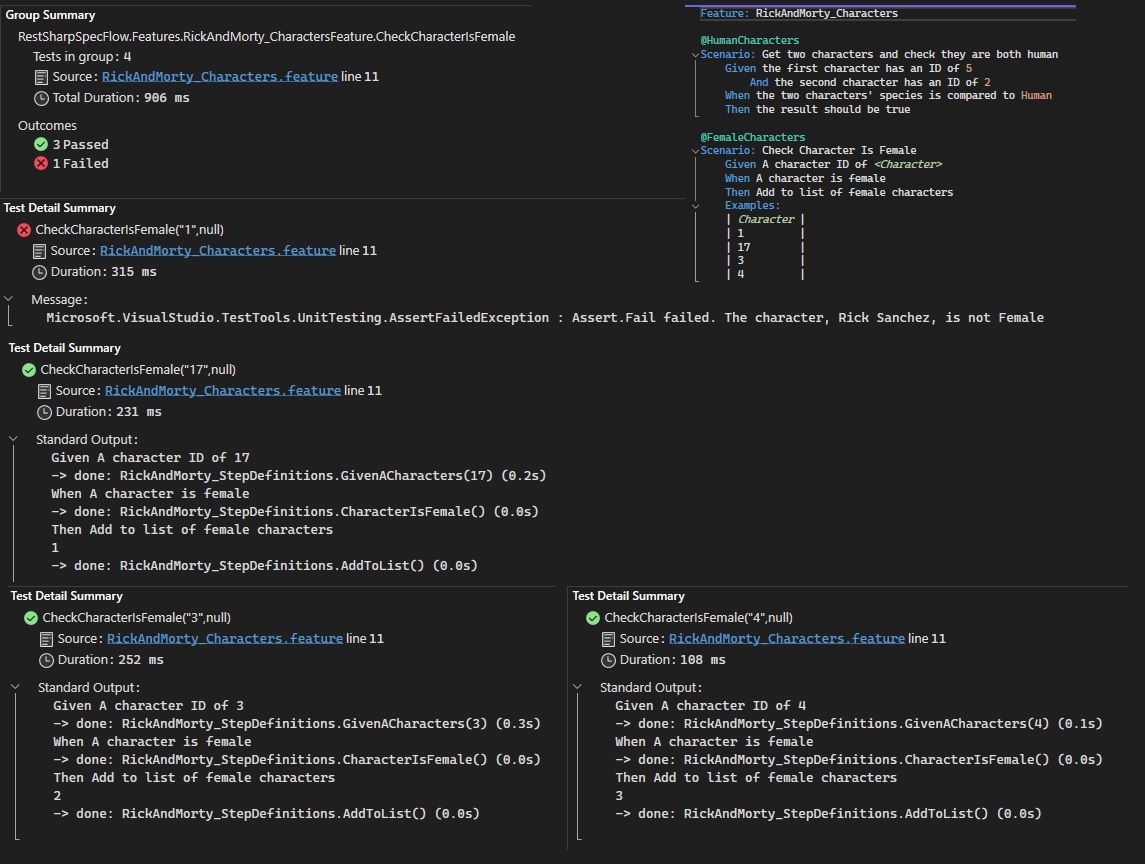
Next, I looked into SpecFlow and wrote some step definitions and features to test a simple calculator application and stock app. I also learnt to use Selenium with SpecFlow to write tests on free Selenium test sites.
Currently, I am learning to use the Unreal Engine Automation Framework to write tests using Simple and Complex automation tests, Spec tests, the Automation Driver and blueprint functional tests. Using these I have written tests for the CropOut and Lyra Unreal Engine sample projects as well as some small projects created to learn to implement the different types of tests. I will also be using Test Driven Development for my current project, Pirate’s Cove, in Unity.
Features:
- Unreal Engine Automation Framework
- Selenium
- RestSharp
- Specflow
- NUnit
- Fluent
CropOut Automation Tests
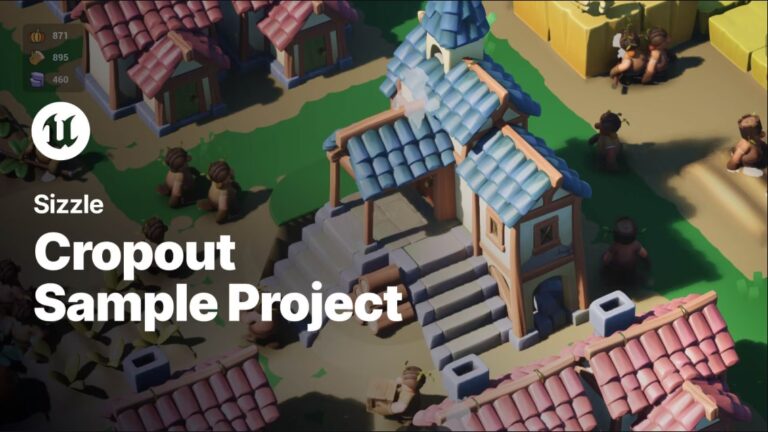
CropOut is a top-down cross-platform Real Time Strategy sample project developed by Epic to demonstrate best practices for building a title that is designed for a cross-platform release. CropOut is created using only blueprints, so all of the tests I created were using the Blueprint Functional Test Actors.
The CropOut sample project implements different resources which the player is required to gather with villagers to construct a variety of structures and grow your settlement. The main goal of the game is to build a Monument, and if the player runs out of food it’s game over. The world map is randomly generated and resources are placed around the map. To perform my tests I created a new map where I could spawn in the required object for testing.
Tests Performed:
To check each resource node spawned with the correct number of resources I used the “Prepare Test” event to first gather each of the resource points for a specified resource type, then during the test, the actors collected in the Prepare Test event are Cast to ensure they are “BP_Resource” actors in order to get the value of the “Resource Amount”.
If any of the resource nodes fail the test then the test will finish with a fail and if they all pass successfully the test will complete with a succeeded result and a message stating they all start with the correct number of resources.
As this was my first experience using the functional test actor, this test was created for each of the different resource types. After this, I started implementing a parent test class with variables that could be selected in child test classes to make my tests DRYer.
(Gallery Image 2)
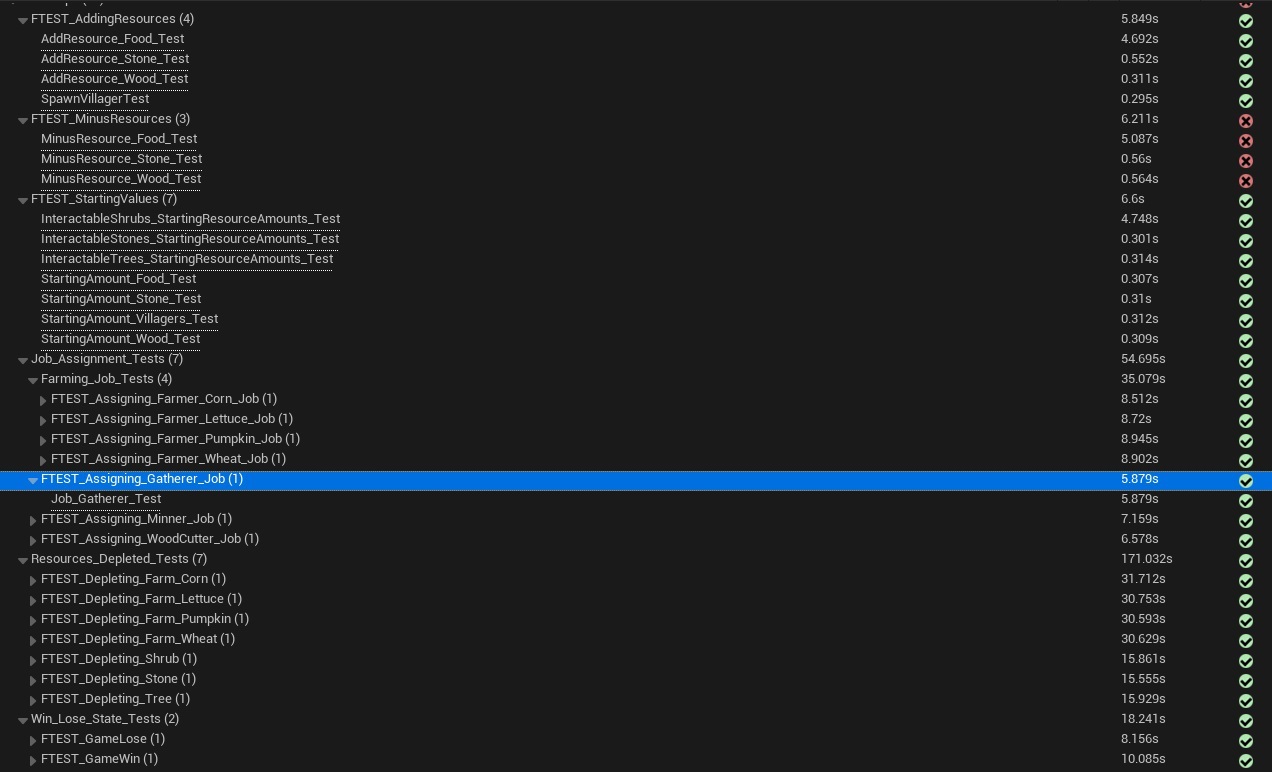
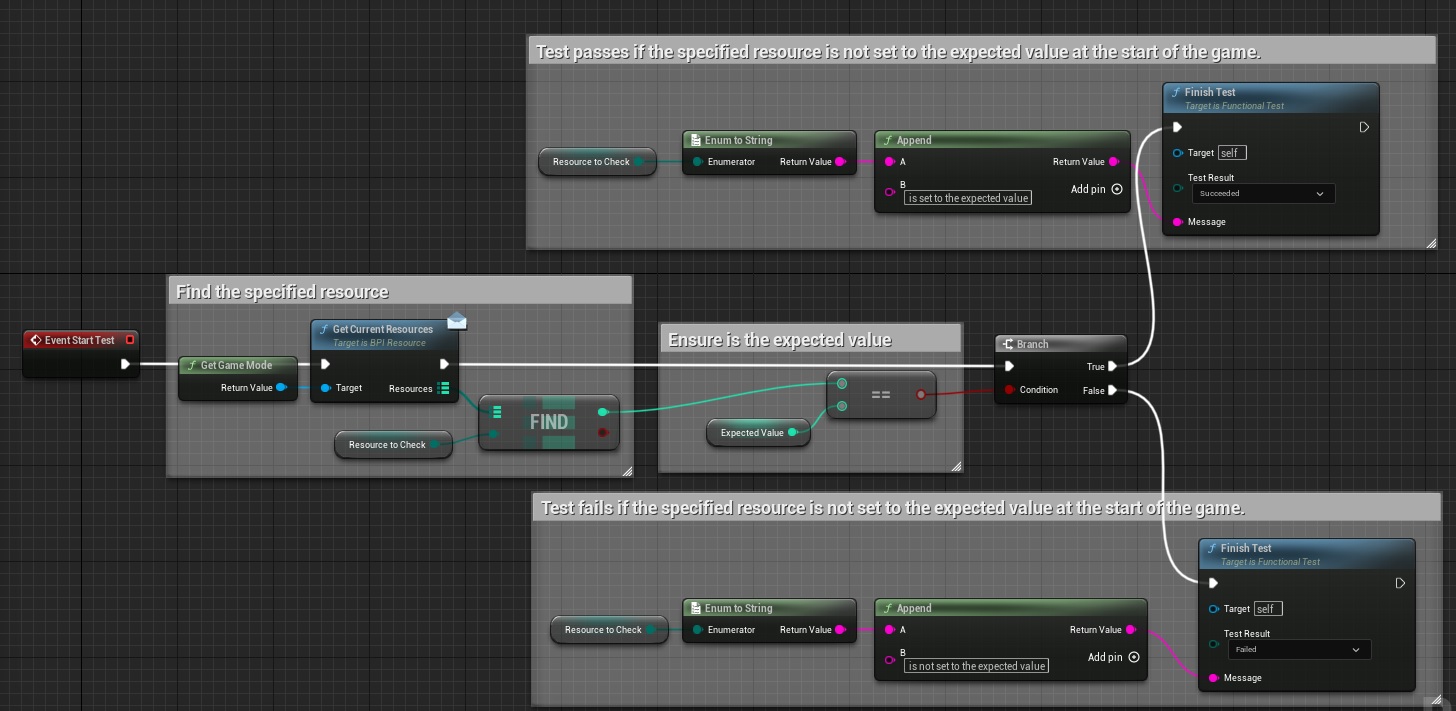
To ensure that the player’s resources start with the correct number of resources, I created a Parent Functional Test Actor that got the “Current Resources” value from the GameMode class, found the specified resource using a “Resource To Check” variable and ensured the value was the same as the “Expected Value” variable then finished the test by producing a string to reflect the results of the check. I then created a child functional test actor class for each resource that required testing, using the variables implemented into the parent class.
(Gallery Image 3)
I ensured that the “Villager Count” was correctly updated when a villager was spawned by getting the value before and after spawning a villager and asserting that the second value was larger than the first.
(Gallery Image 4)
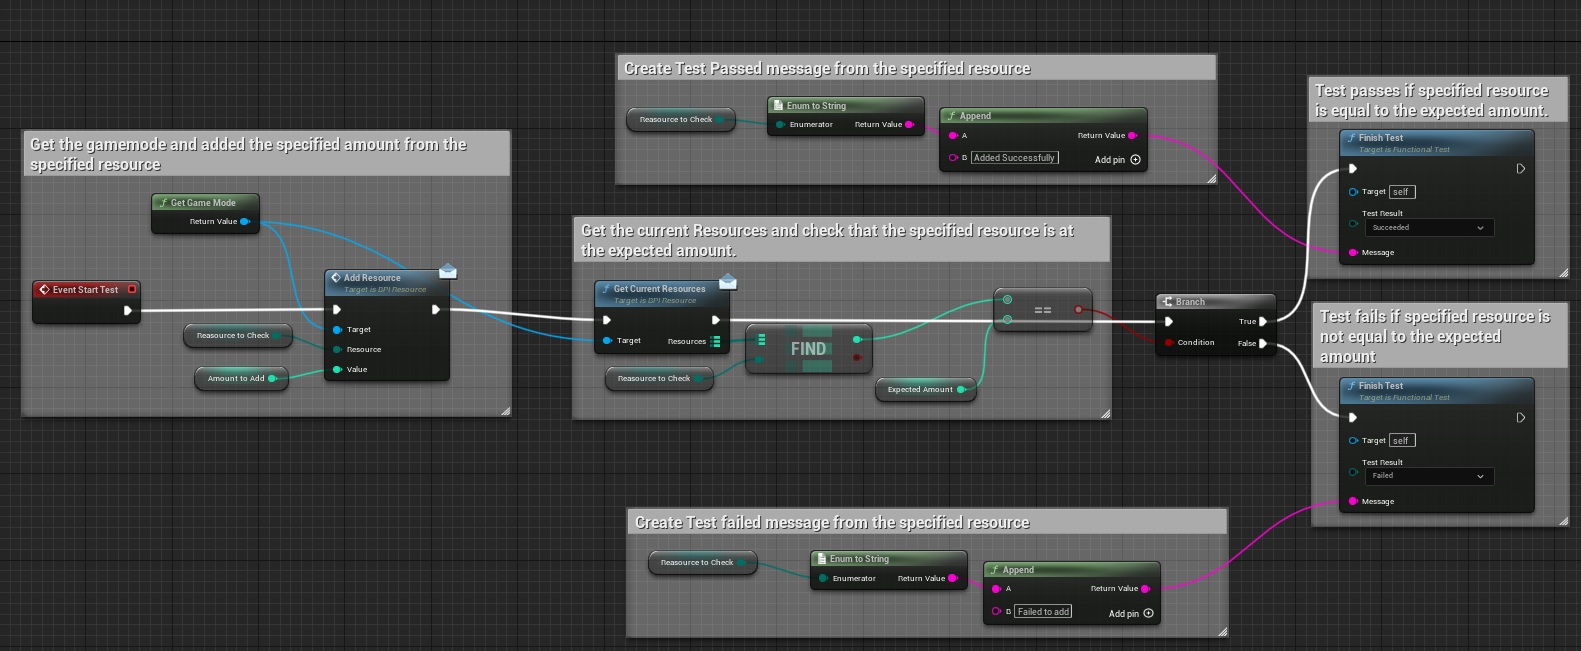
To test the functionality of the “Add Resource” function, I created a parent class that contained variables for the “Resource to Check”, “Amount to Add” and the “Expected Amount”. The test would use the “Add Resource” function, with the “Resource to Check” and “Amount to Add” as the parameters, then check the “Current Resources” to ensure the value equalled the “Expected Amount”. I then created a child test for each resource, adding the relevant variable values.
(Gallery Image 7)
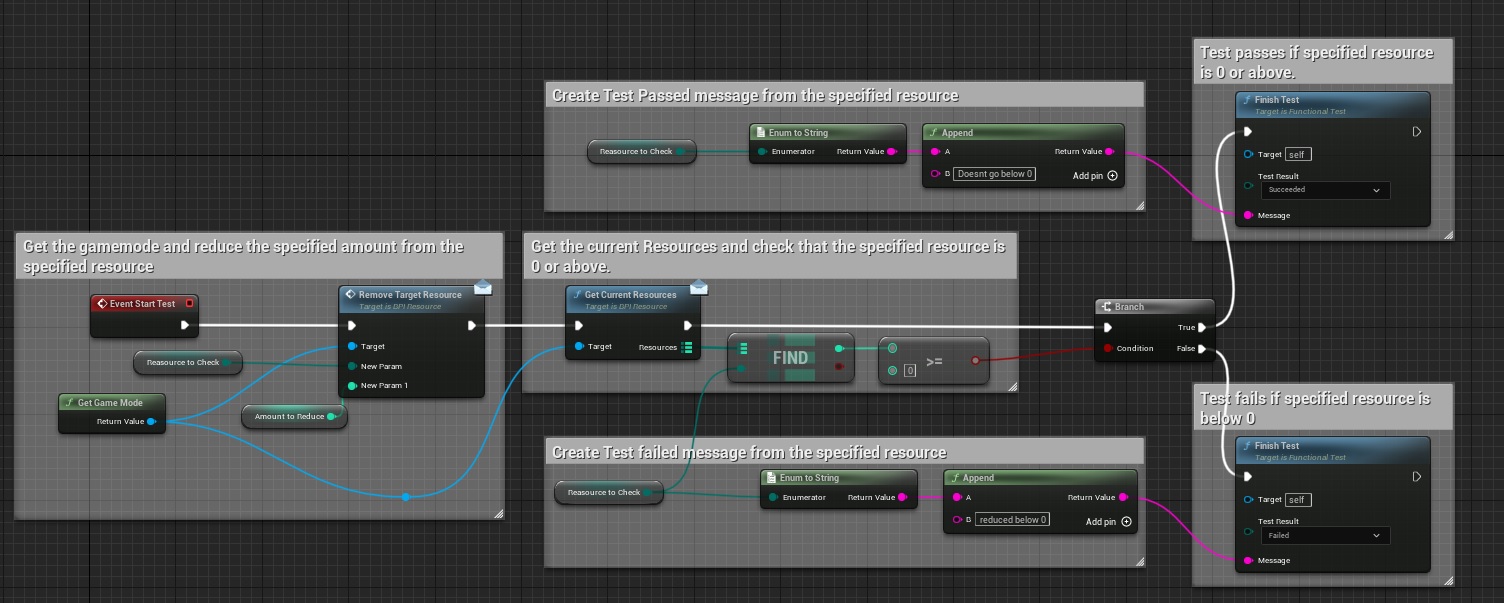
This test was to check that the player couldn’t go into the negative of a resource when constructing. The test worked similarly to the adding resources test but used the “Remove Target Resource” function instead and checked whether the value was greater than or equal to 0. Unfortunately, these tests failed as there were no verification checks implemented into the “Remove Target Resource” function to stop the value from going into the negative.
(Gallery Image 6)
To test the loose state of the game, which is when the player’s food resource hits 0, I removed the starting food resource to bring it down to 0 and waited for a few seconds before checking if the “EndGame” UI widget was visible.
(Gallery Image 10)
The game’s win state is triggered once the player constructs a monument. To test this I used the Spawn Actor function to spawn a Monument structure in the world. During normal gameplay the villagers would take resources to the structure and then begin construction. To simplify this for my test, I called the “Construction Completed” event which would normally occur once the villagers had finished the construction. I then waited a few seconds before checking if the “EndGame” UI widget was visible.
Resources are gathered from different resource points by the AI workers. The AI job system uses Tags to assign different jobs to the villagers. Crop resources have several stages of growth before they can be harvested. Once a resource point has been depleted it is destroyed.
For testing this functionality I split it into several smaller tests, the first was to test that AI workers are able to be assigned tasks and gather the correct resources. Next, I tested that once an AI worker harvests the last of a resource from a resource point the resource node is destroyed.
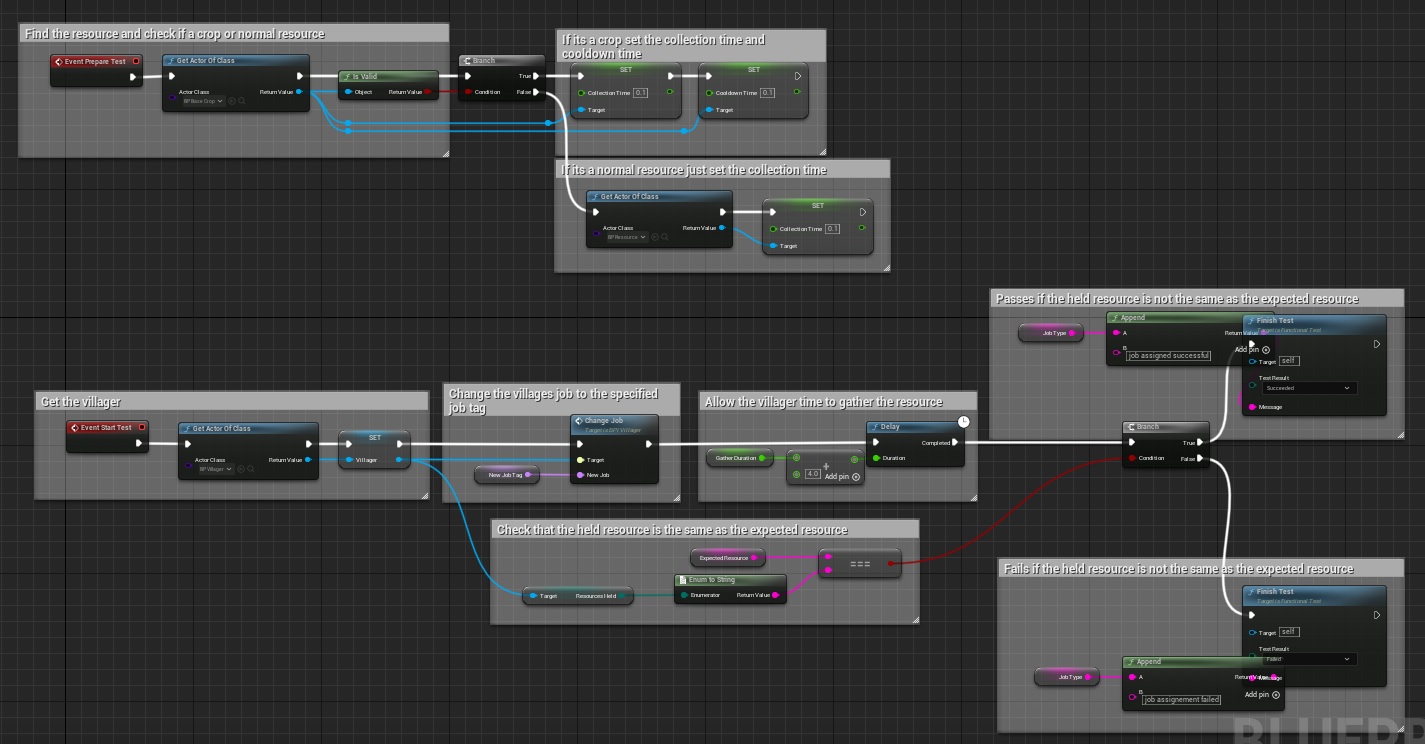
To check that AI workers can be assigned a task to gather from each resource node type, I created a parent test class where the resource was found in the “Prepare Test” event and checked whether it was a crop or normal resource point before assigning the “CollectionTime” and “CooldownTime” or just the “CollectionTime”, respectively, to 0.1 to reduce the test duration. During the test, a villager is assigned the specified job tag using a variable and then waits a few seconds to allow the village to gather the resource before checking the “Resource Held” by the villager is the “Expected Resource”. Child test classes were created with the relevant variables to test each resource point type.
(Gallery Image 8)
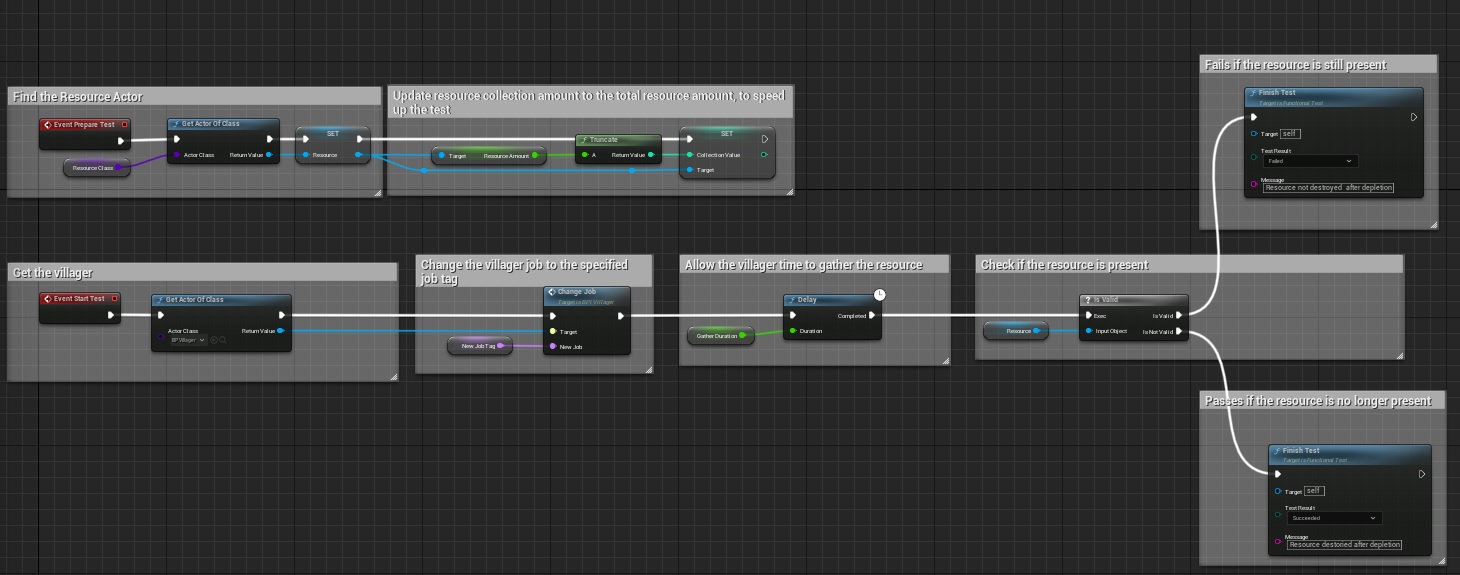
For the resource depletion test, I located the resource point and set the collection value to equal the total amount of resources in the “Prepare Test” event. This allows a villager the gather all the resources at once, reducing the testing duration. I then assigned a villger the job for that resource in the test and waited a few seconds for the village to gather the resource then finally check that the whether the resource point was still valid, passing if not.
Unreal Automation Tests
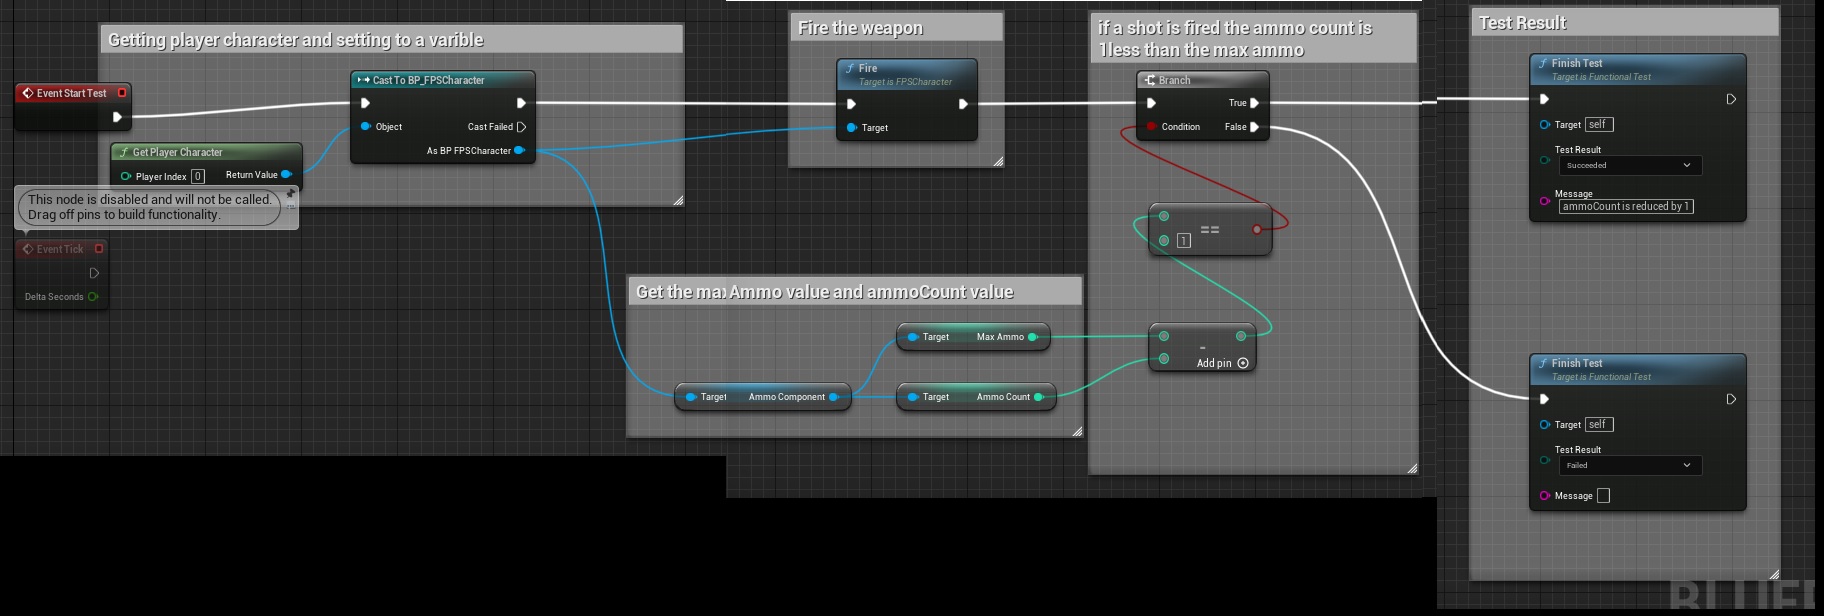
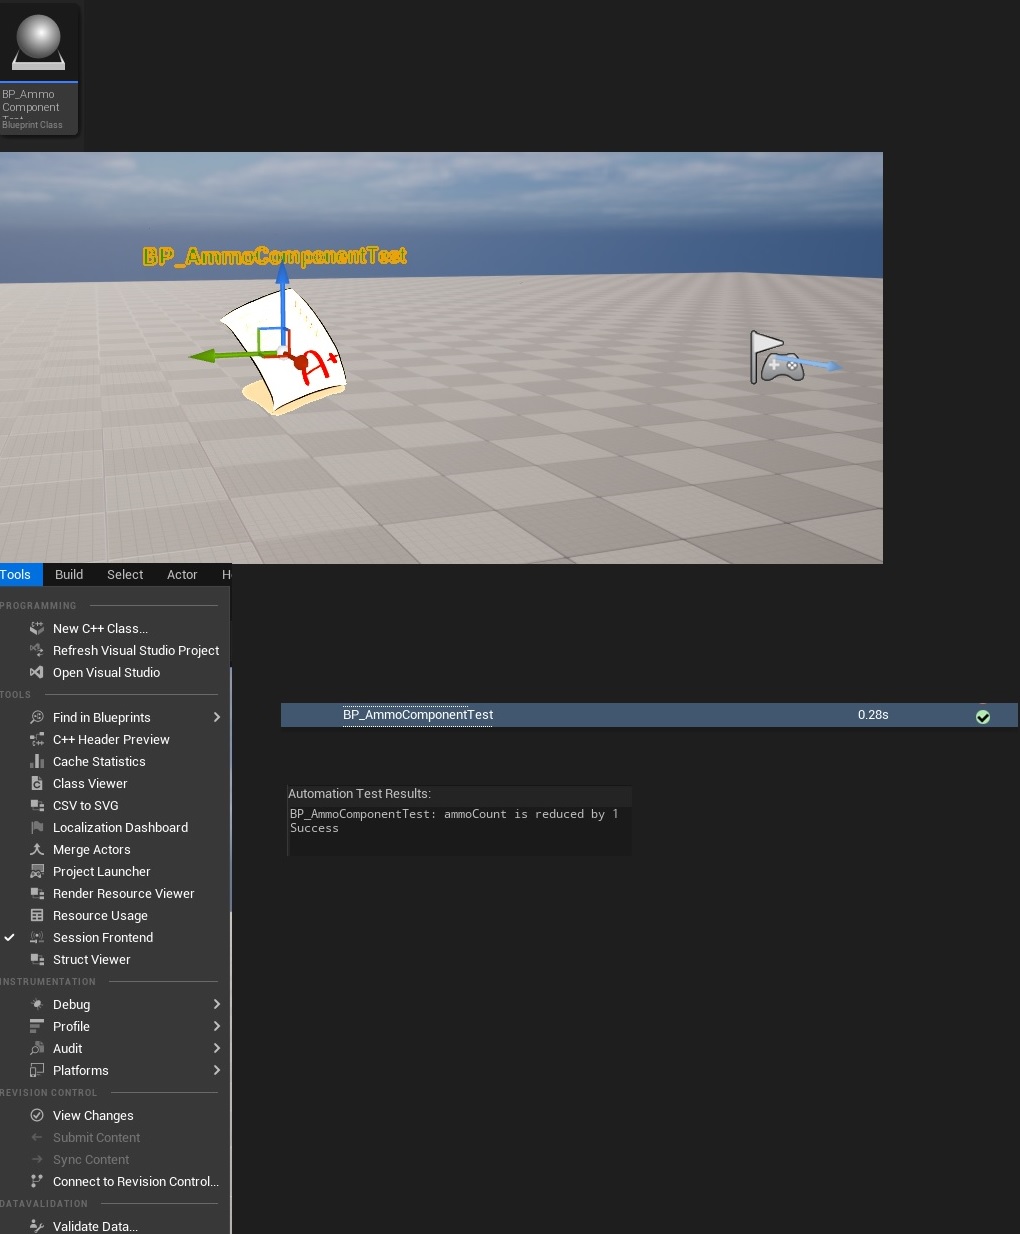
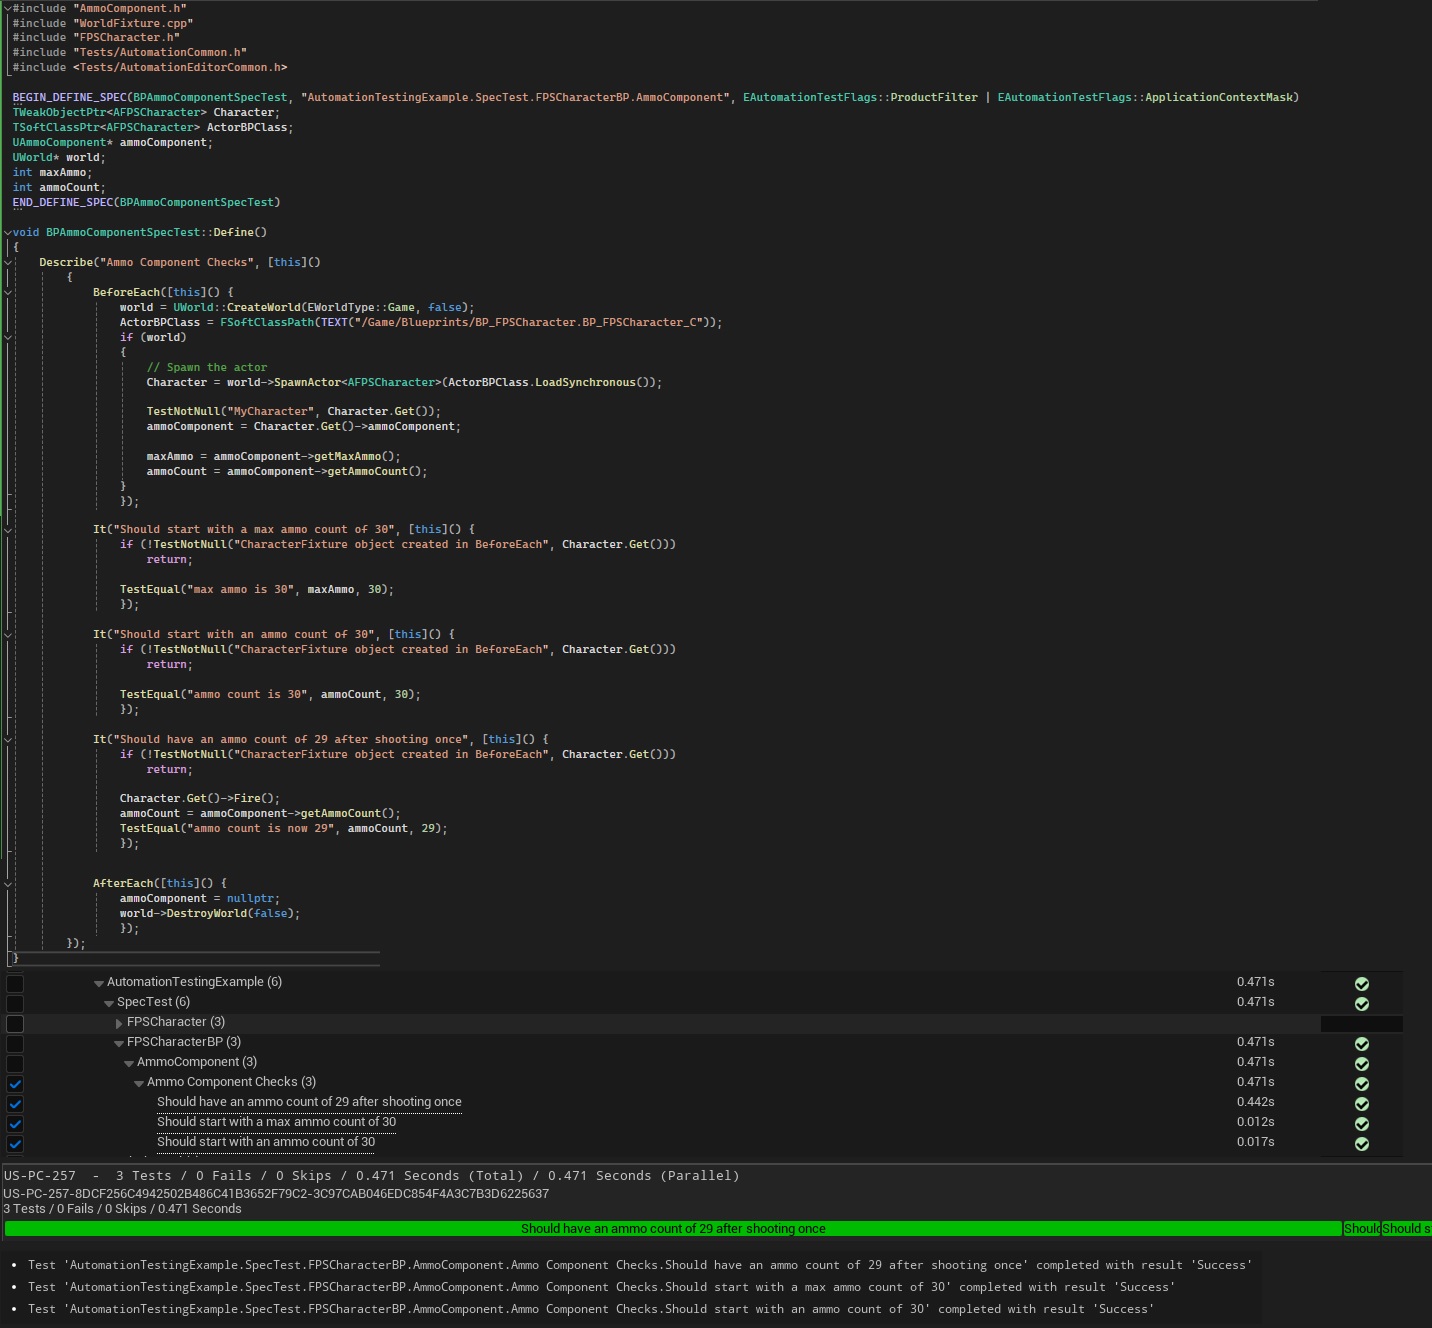
I created a character with an ammoComponent attached to it, on which I could perform the different types of tests to learn how to implement them.
Tests Performed:
For the fbx builder I started by using on of the built in models, a blue cube. I started by looking at the model to see how many levels of detail it had so I could try run the test on that. I then created another test to ensure there were no errors when importing. I then did a third test where I put the two together.
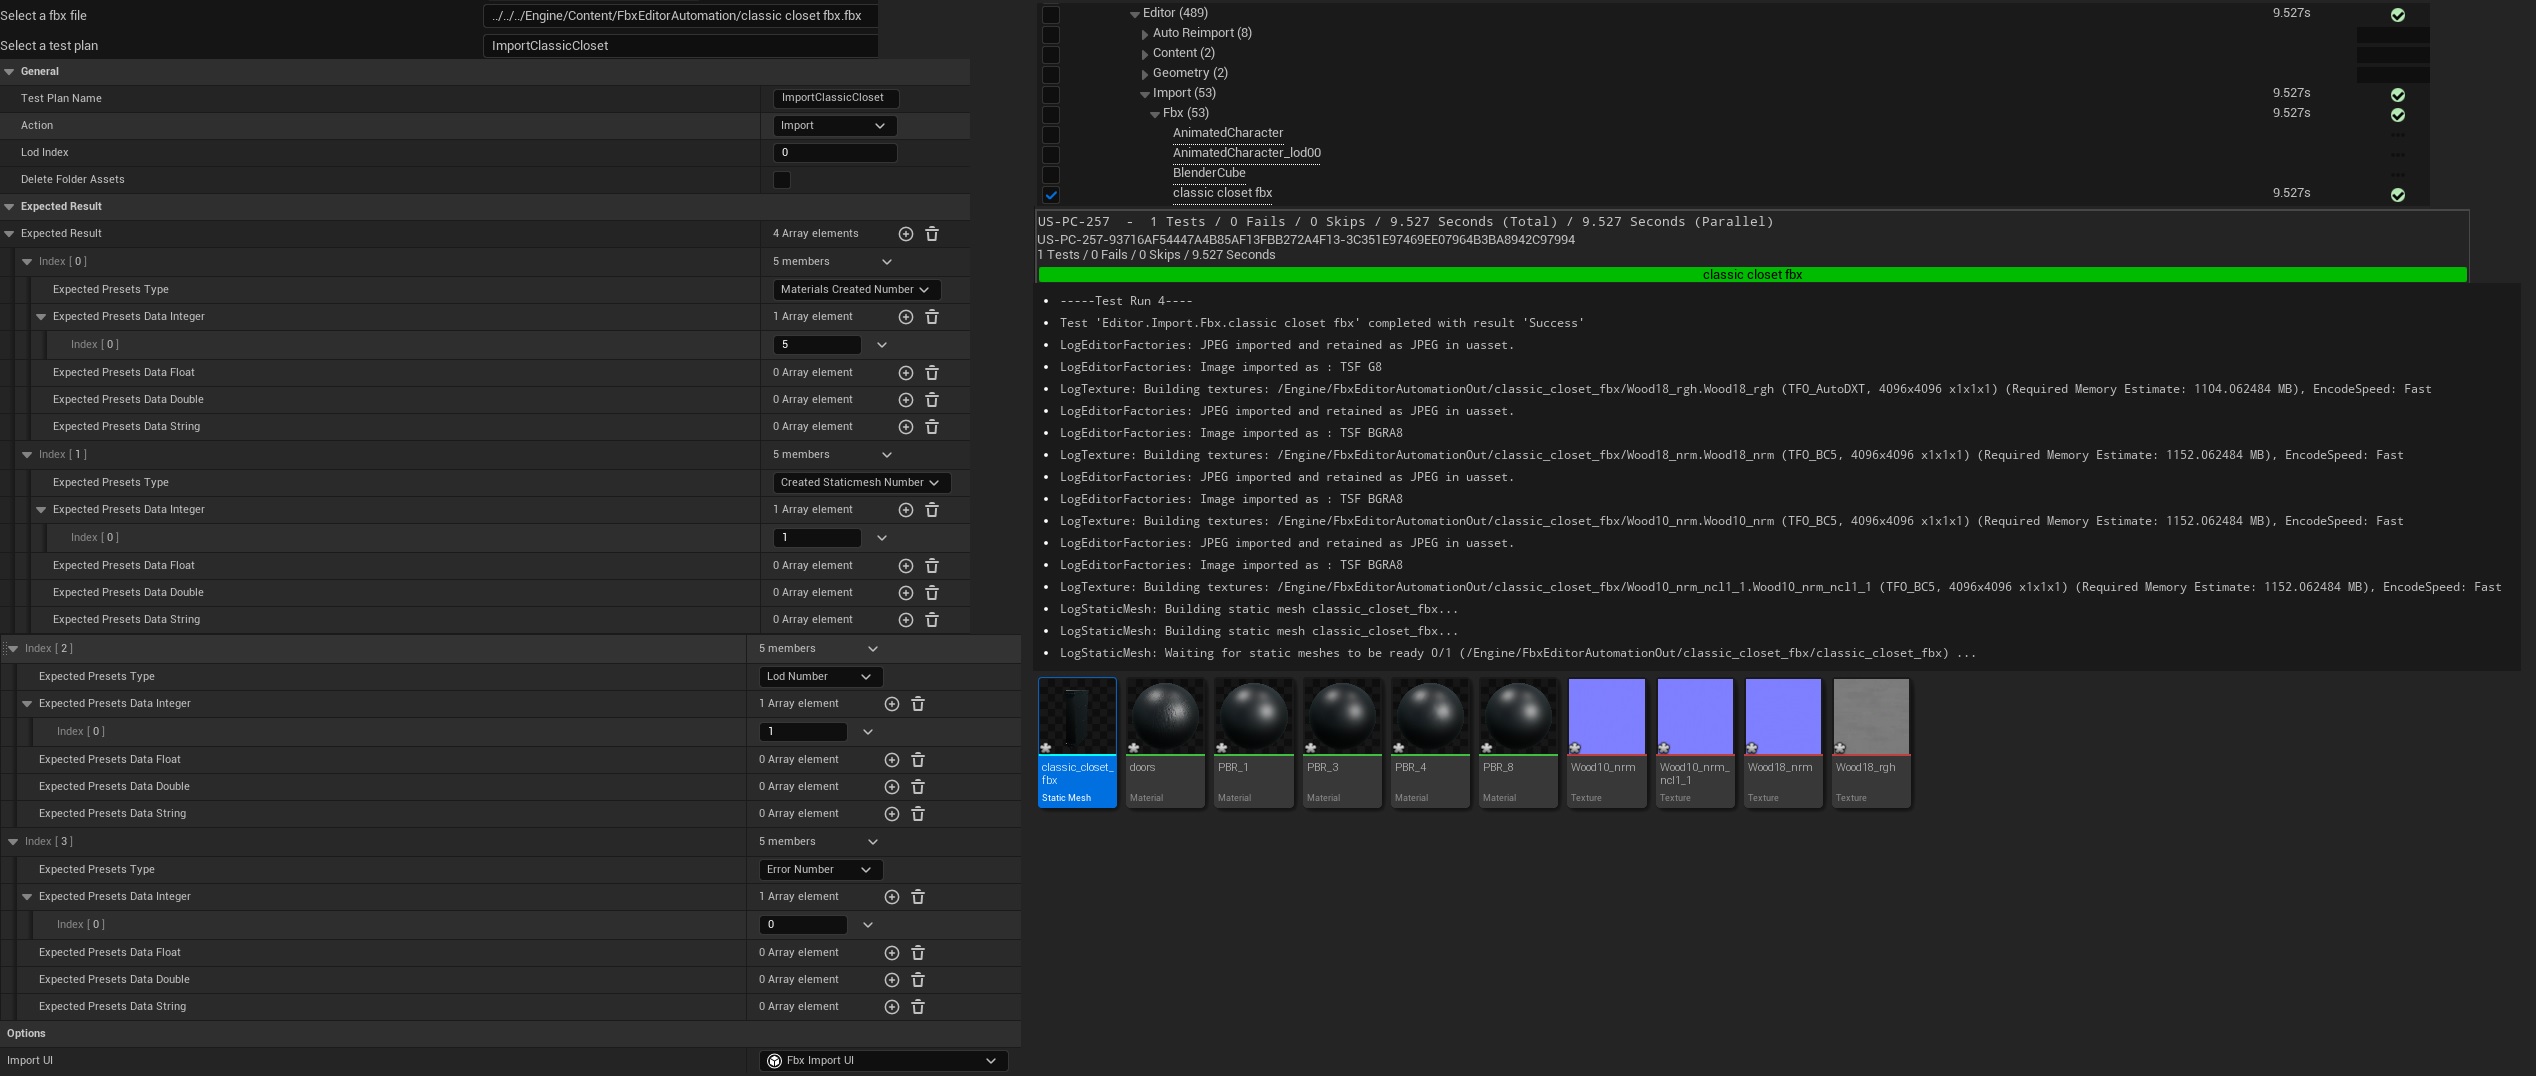
After this, I found a model online with several materials that I could test. I located the folder to place the fbx file and wrote a test to ensure the correct number of materials, I also include a check on the number of static meshes, LOD and that no errors occurred.
(Gallery Image 1)
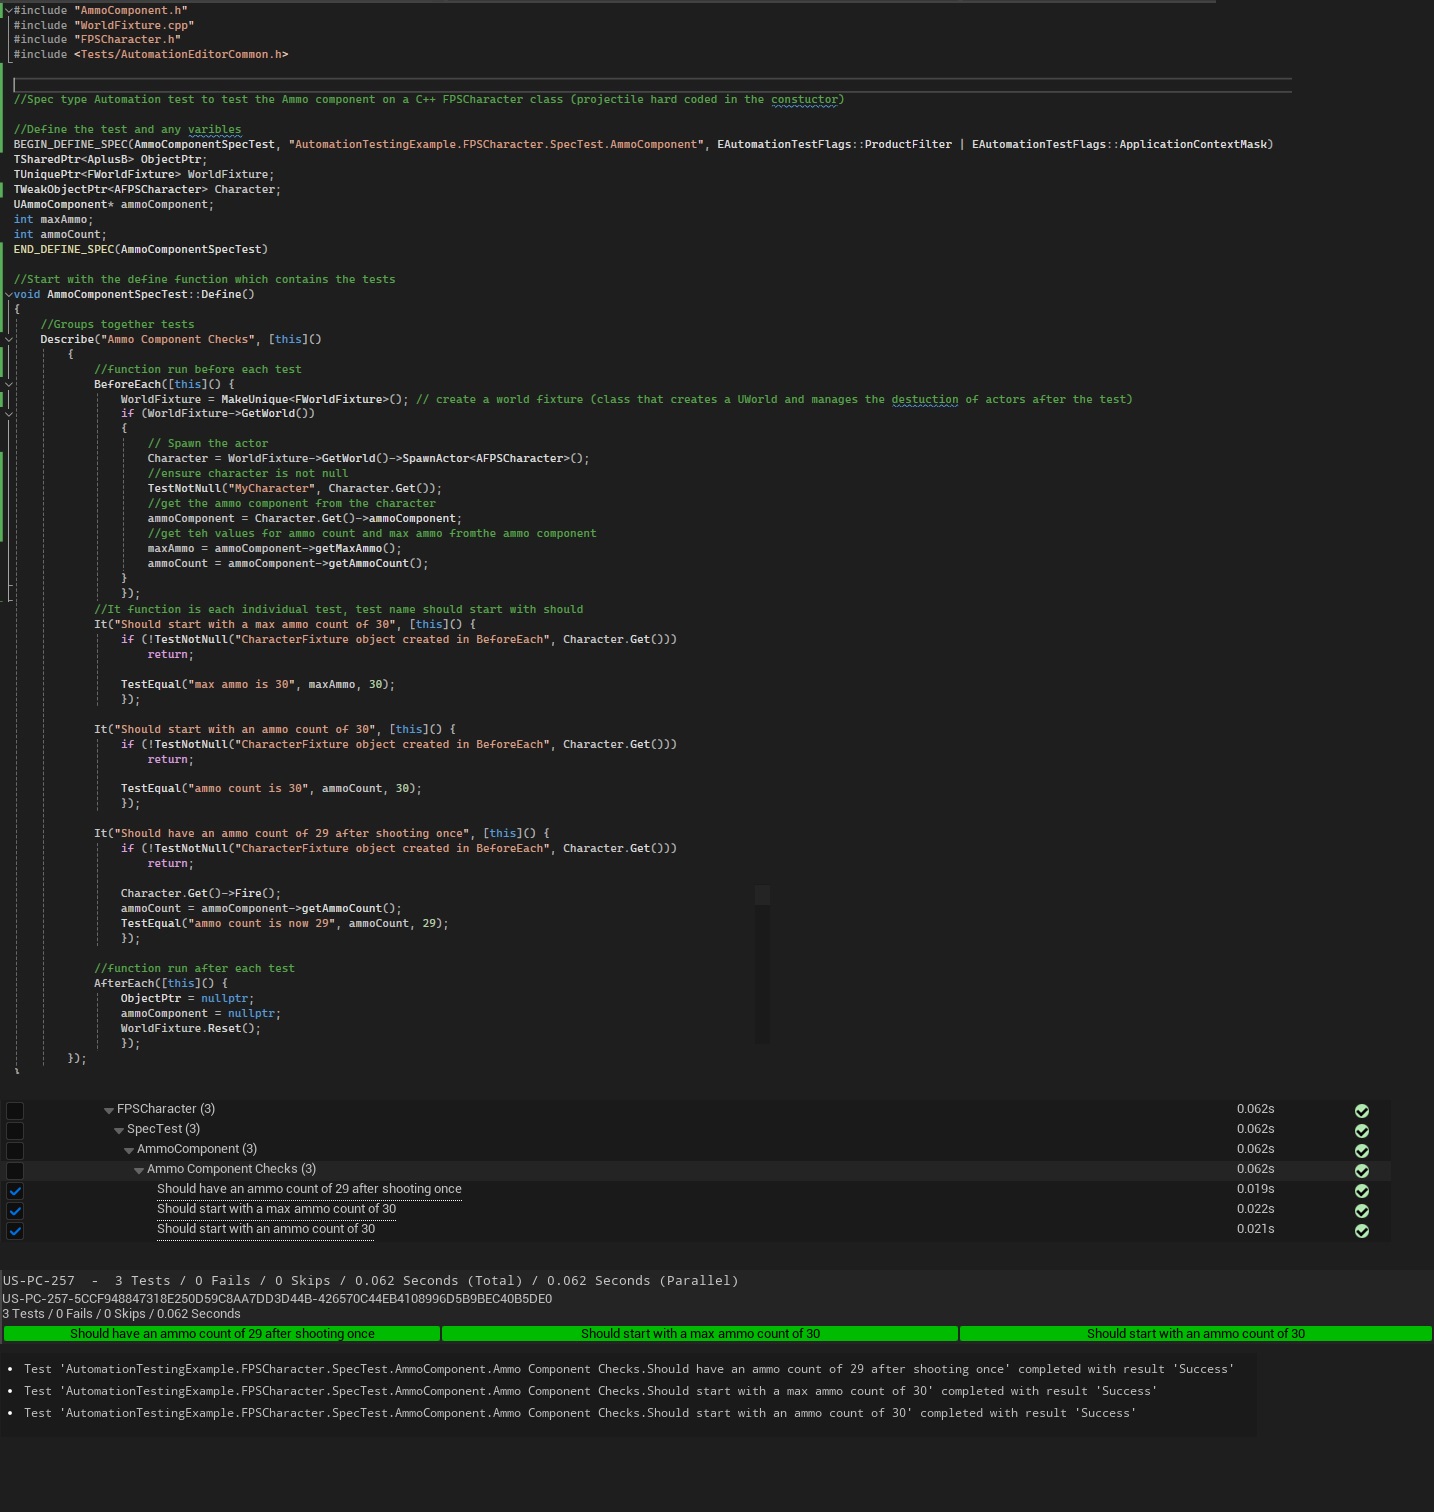
I started with the spec type I managed to find an example online which implemented a fixture class for different methods enquired for the test such as creating and destroying a world. I decided to follow this example and implement a fixture class myself.
For the spec class, I used a BeforeEach function to create the world, spawn the actor and get the ammoComponets values. I then wrote three separate It functions to assert the different values. Finally, I used an AfterEach function to reset the world so that it was ready for the next test.
The first spec test I implemented used a C++ character so I wrote another test where the character was implemented as a blueprint. This time I didn’t use the fixture class and instead created the world in the BeforeEach function and destroyed it in the AfterEach function.
(Gallery Image 9 & 10)
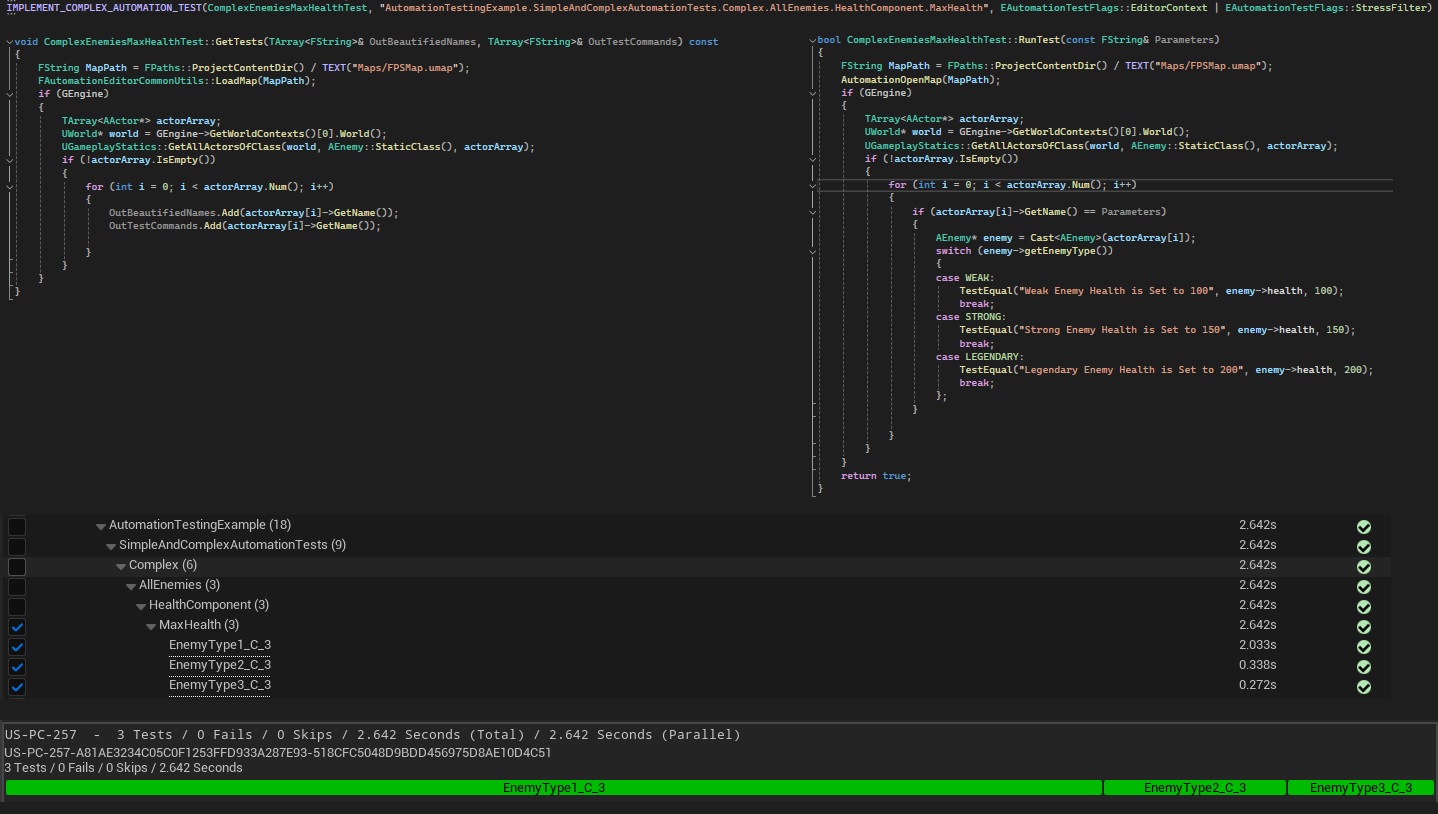
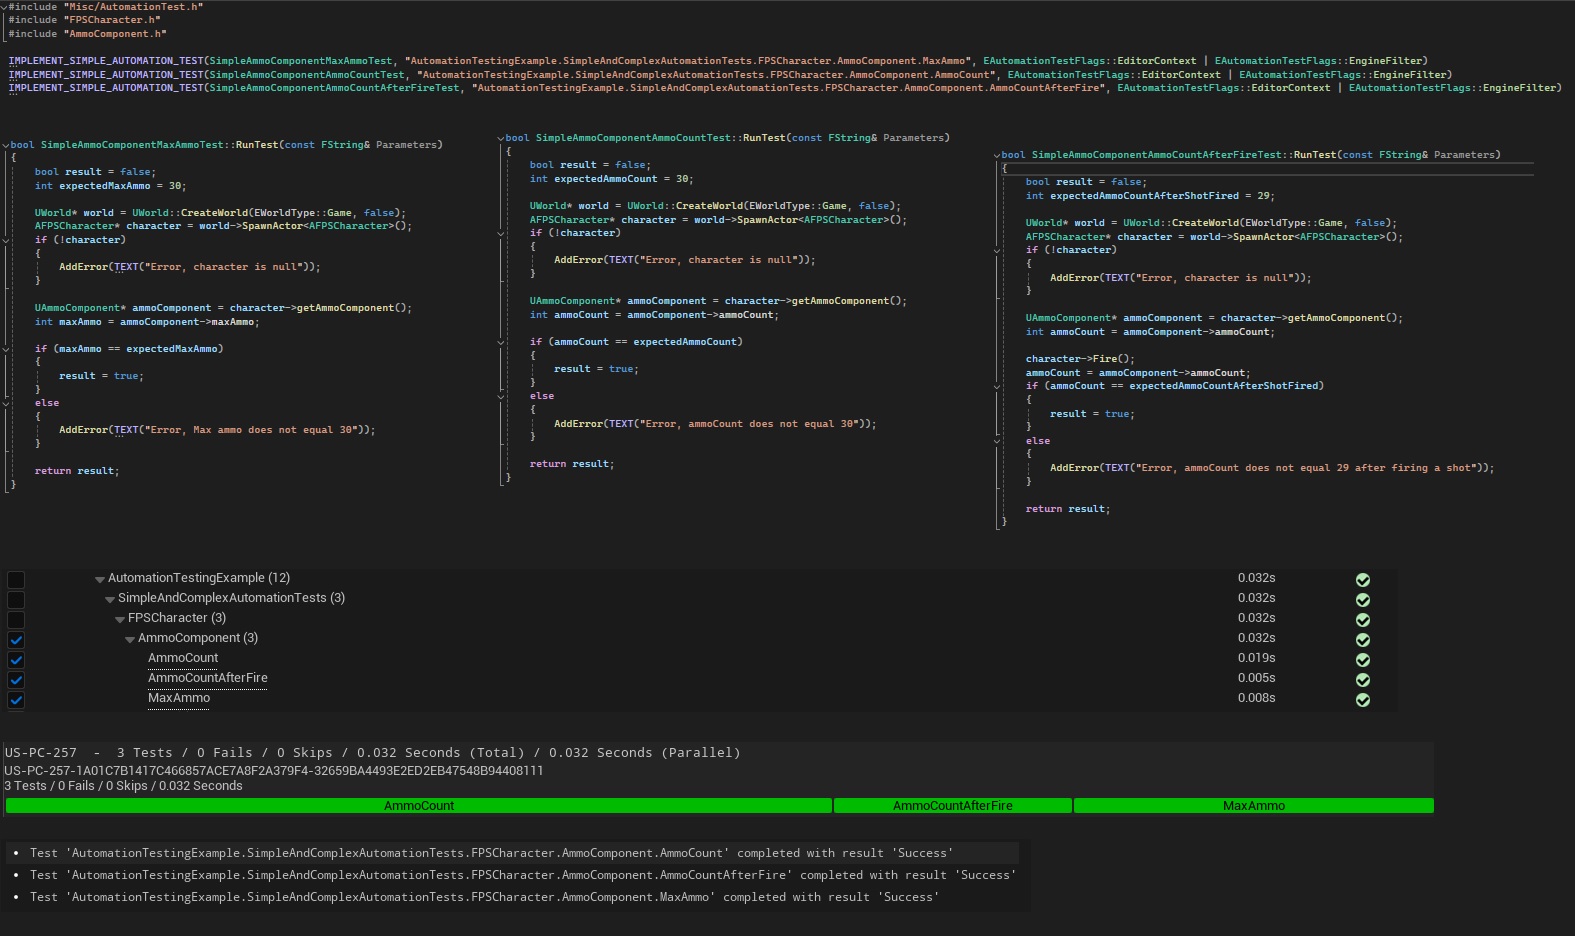
I next implemented the same tests using the Simple Test type before looking at the Complex Test type. For the complex test type, I implemented the example of loading all the maps to check the loading time before writing a complex test to load a map, check each enemy’s health, and ensure the correct value based on the enemy’s type.
(Gallery Image 5 & 8)
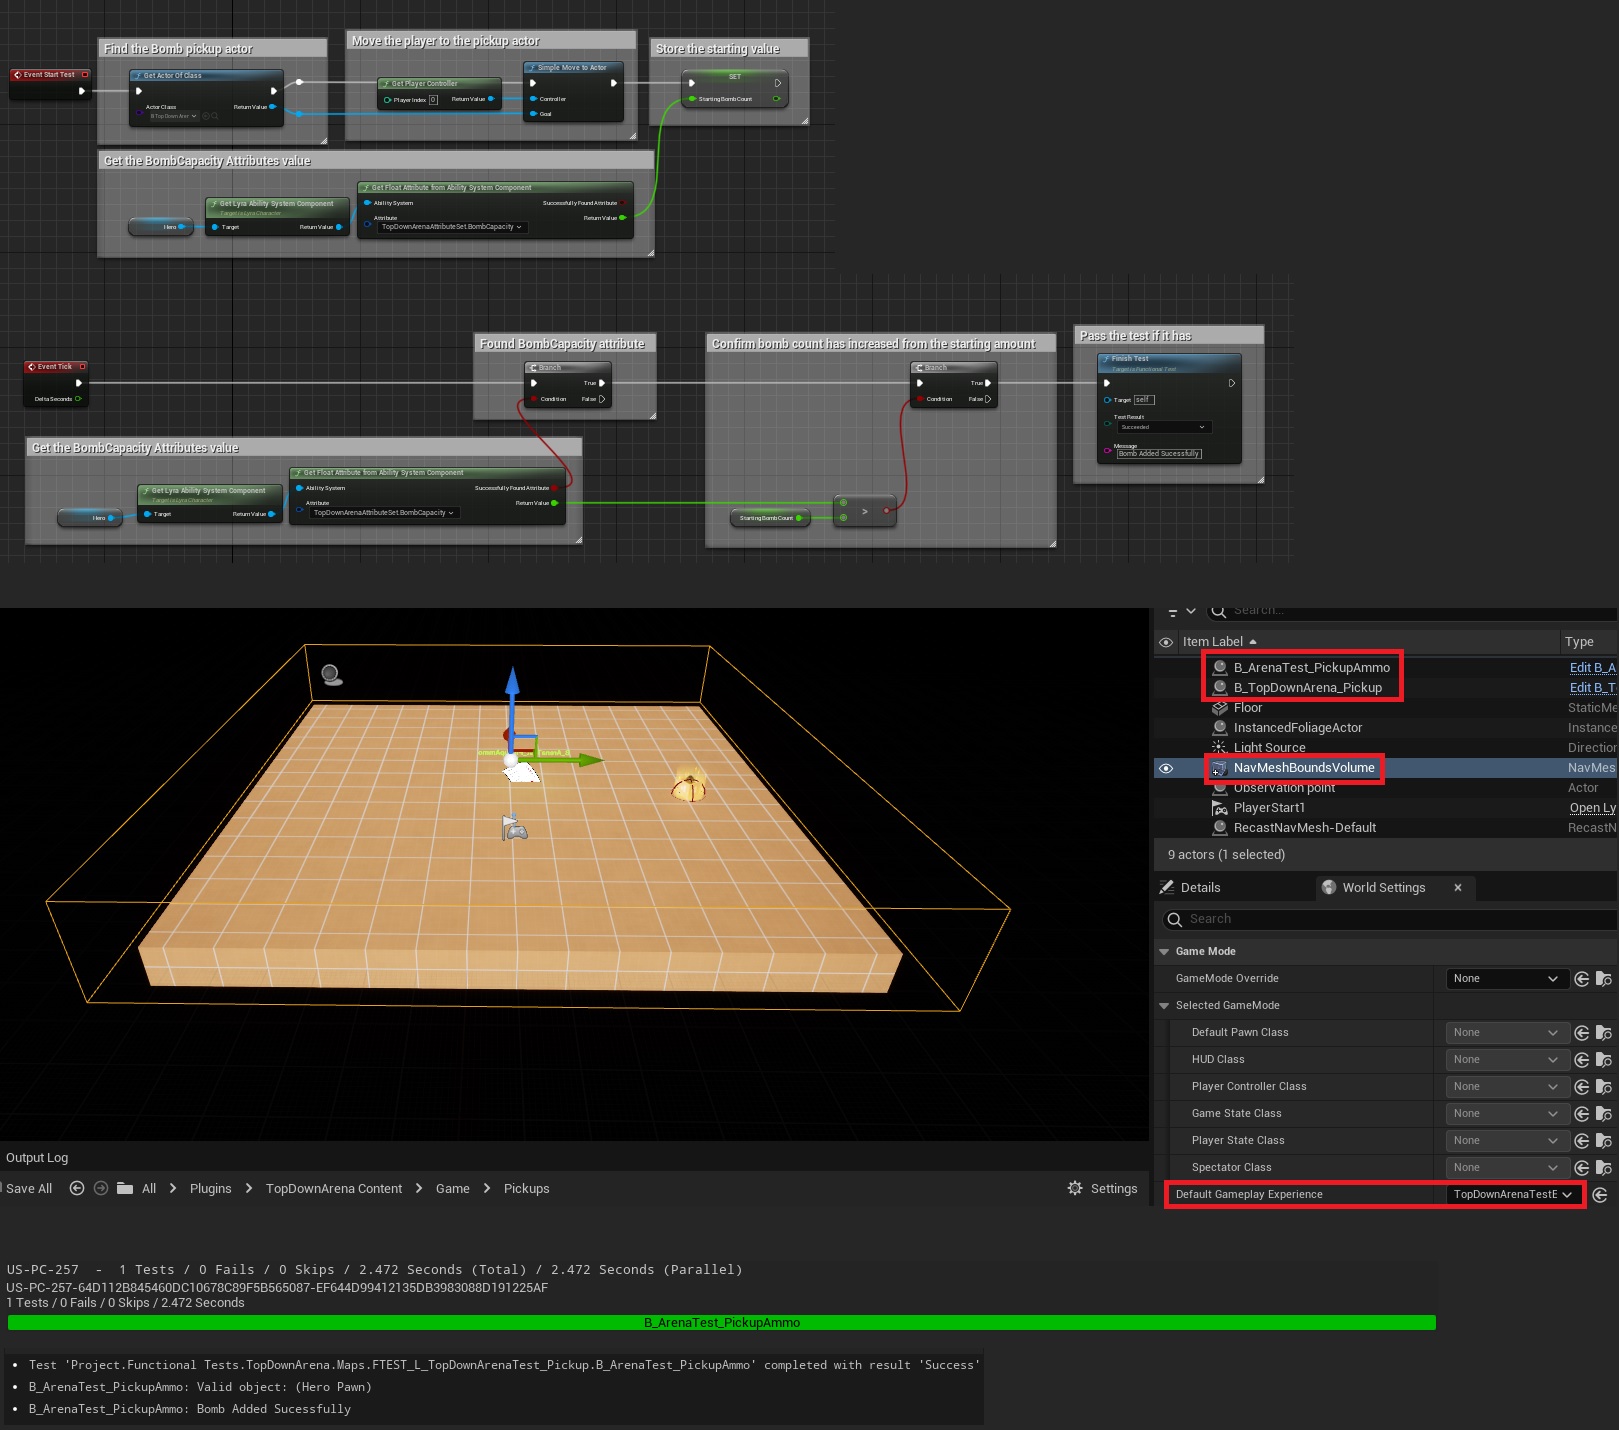
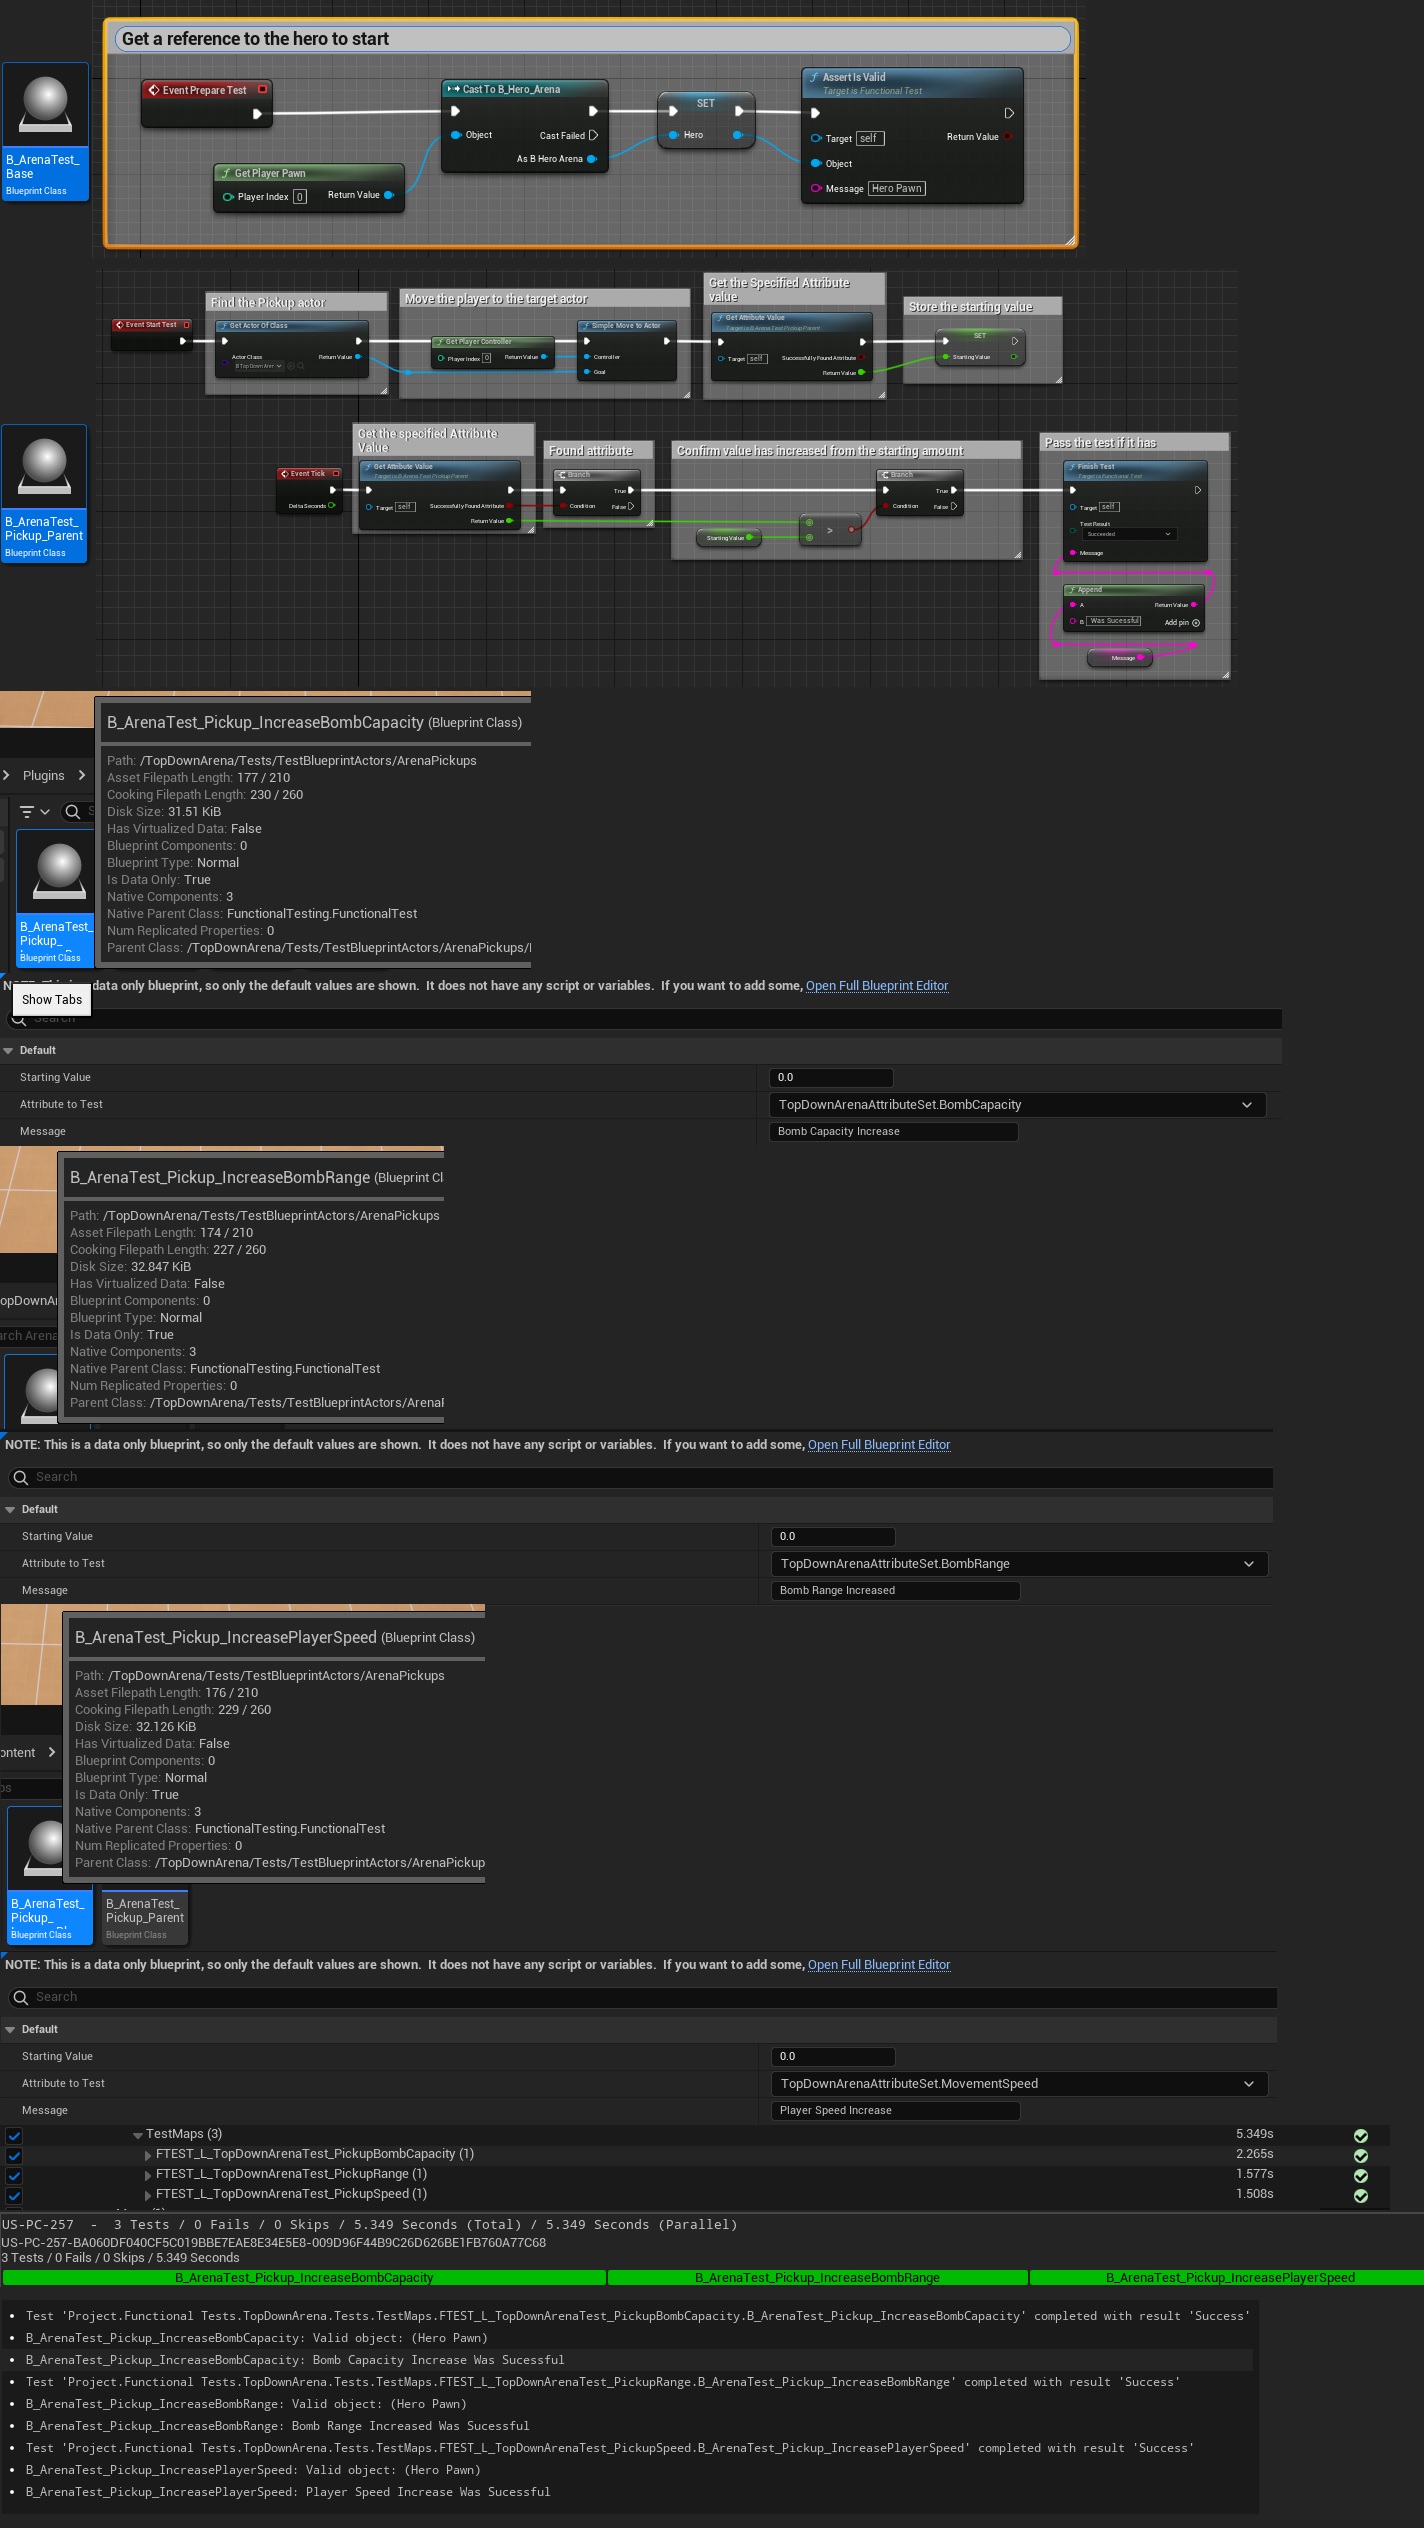
I downloaded the CropOut and Lyra sample projects to implement different tests in a game environment. Lyra implements the Gameplay Ability System to manage the pick-up items in the bomber Arena game mode, so I decided to write some tests on the different pick-up items such as increasing bomb capacity and bomb range.
For the map, I created a blank map and added a nav mesh so that the character can move. Because Lyra uses gameplay experiences to handle the different game modes I also set this to the TopDown Arena to spawn the correct character.
(Gallery Image 7)
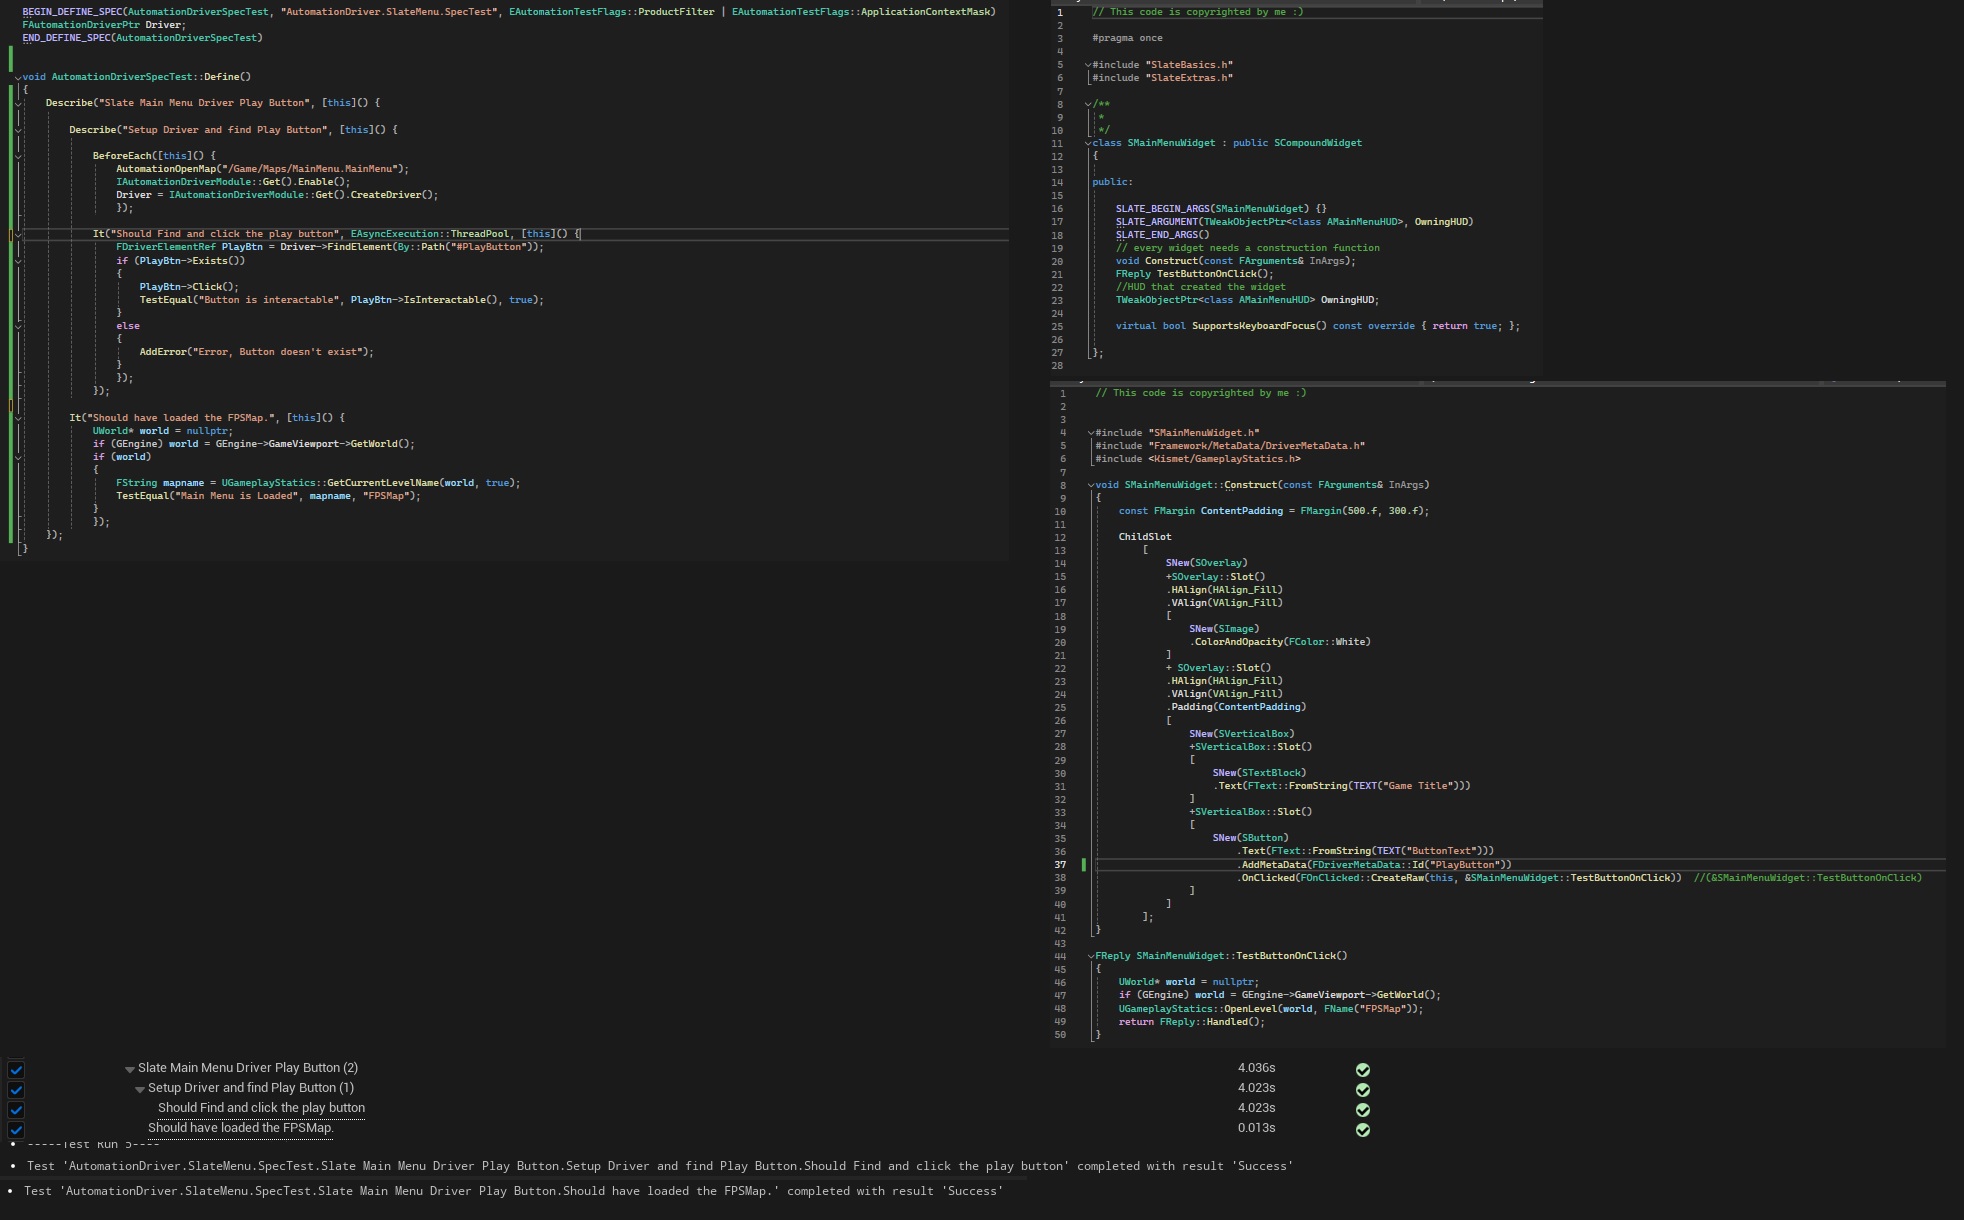
Finally, I looked at the Automation Driver which is used to test UI elements. To implement the Automation Driver I had to learn some basic Slate UI in order to mock up a main menu that I could interact with. I did try to find a way to implement the automation driver with UMG UI and I was trying to write a test that would check a specific map loaded but unfortunately ran out of time during my training period.

